Round Metallic Button Photoshop Tutorial
This tutorial will show you a simple way to create your own round metallic button that you can, for example, as a volume adjustment button.
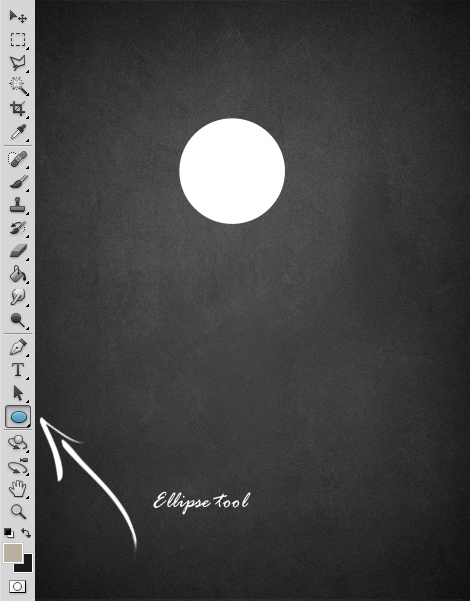
01. Start out by creating a new document and adding a dark background. Then select the Ellipse tool and create a circle. This will be the side part of the button.
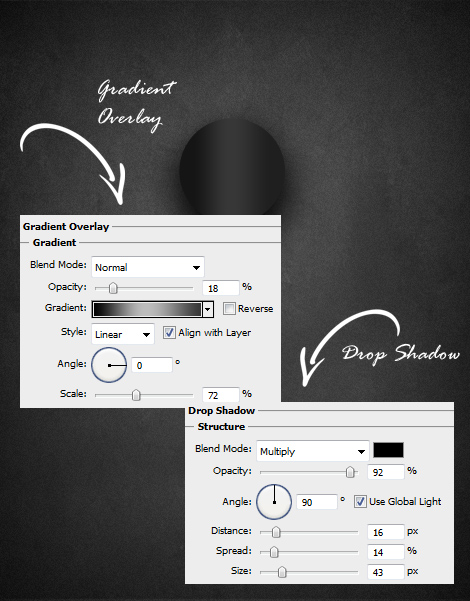
02. Now lets add some color and shade to our circle. Go to Layer > Layer Styles > Gradient Overlay and add a dark gradient, then move to Drop Shadow tab and add a strong dark shadow under the shape. Press OK.
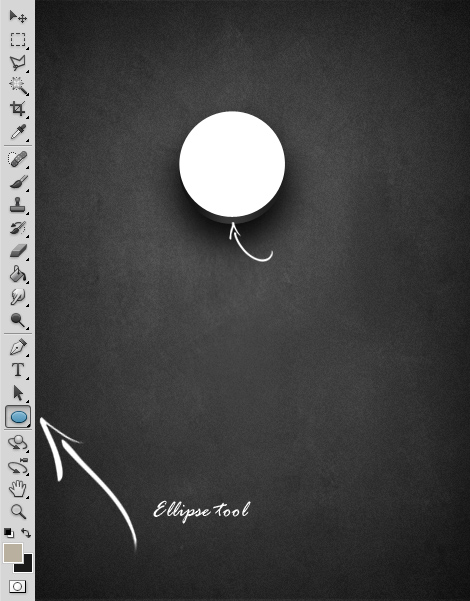
03. Take the Ellipse tool again and create another circle on top of the first one, but so, that the first circle’s lower edge would show a bit.
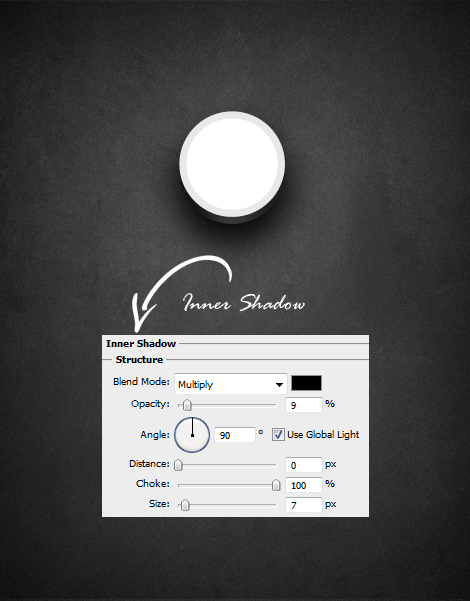
04. Go to Layer > Layer Styles > Inner Shadow and add the values shown below so you’d have a transparent inner stroke. Don’t press OK yet.
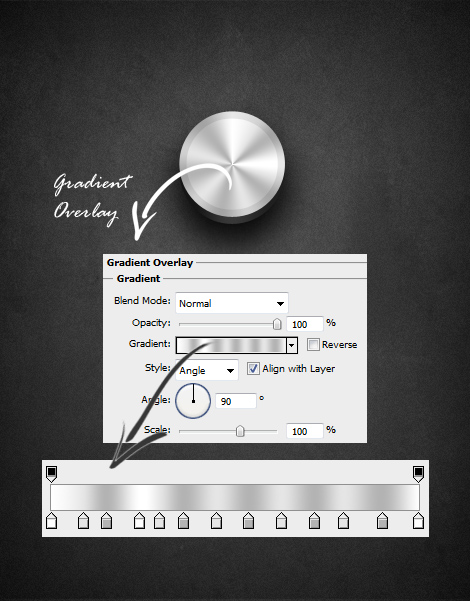
05. Move to the Gradient Overlay tab and add a stripy gradient on your shape. The color consists of white and gray shades. To set a new color, just click on the empty spot where the small icon should be and choose a color. Press OK now.
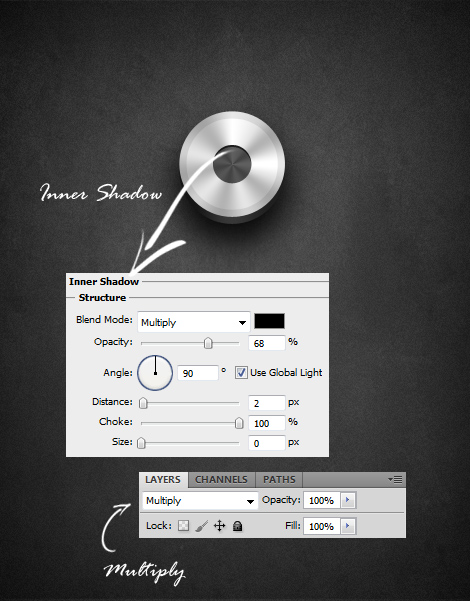
06. Take Ellipse tool again and create a small circle on top of your button. Set its Blend Mode to Multiply and add from Layer Styles some Inner Shadow. Press OK.
07. You can also add a small shape on top of the little circle and your metallic button is done and ready to be used!
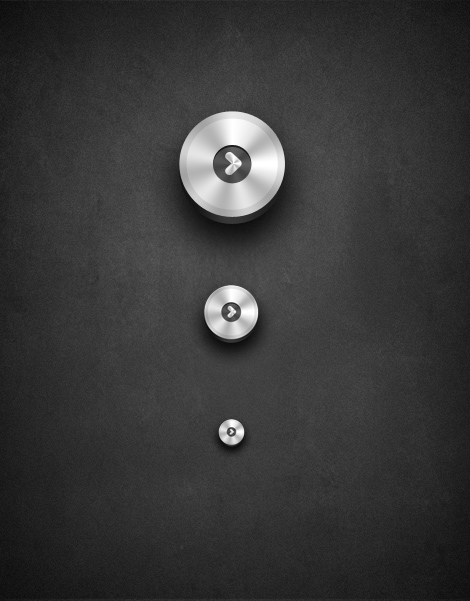
And that is how you make a Round Metallic Button in Photoshop!