Photoshop Photo 3D Effect Tutorial
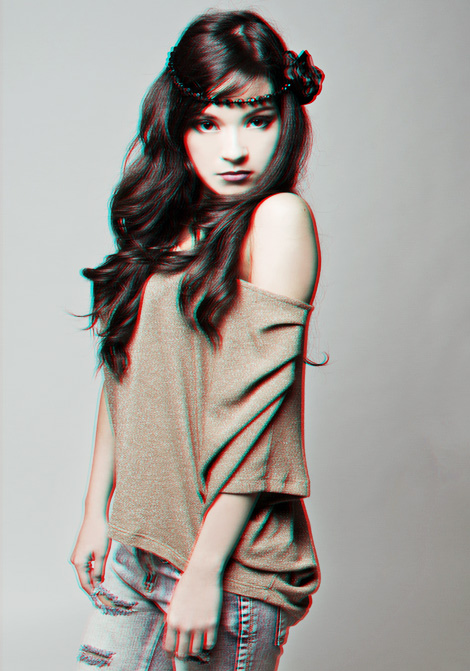
3D is starting to take over everywhere – its been in games for ages now, then it was added to movies and why not now add some of those dimension to a photo?! This tutorial will show you exactly that – how to add a cool 3D effect to a photo!
1.
Start out by opening a picture. Any picture will do – any size, color or topic.

2.
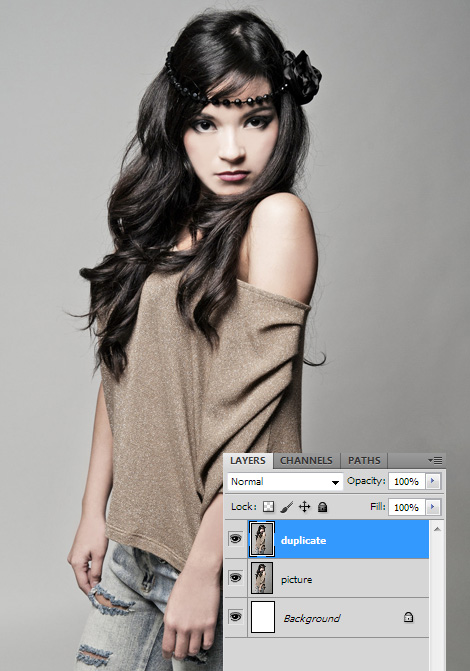
Duplicate the layer – just go to Layer > Duplicate layer or right click on your layer and choose Duplicate layer.
3.
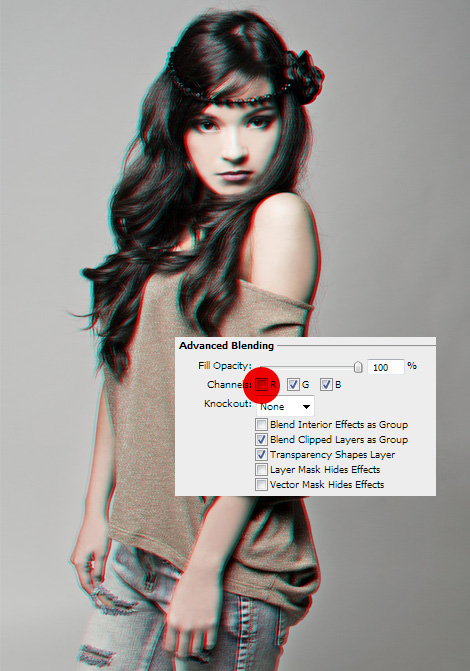
Double click on your duplicated layer and right under Advanced Blending take off the tick from Channel R. Press OK. Nothing changed? Just move the duplicate on the right or left a bit and you’ll see that the effect will show. Depending how much you move the duplicate, the more 3D you’ll add, but no need to go over the top.
4.
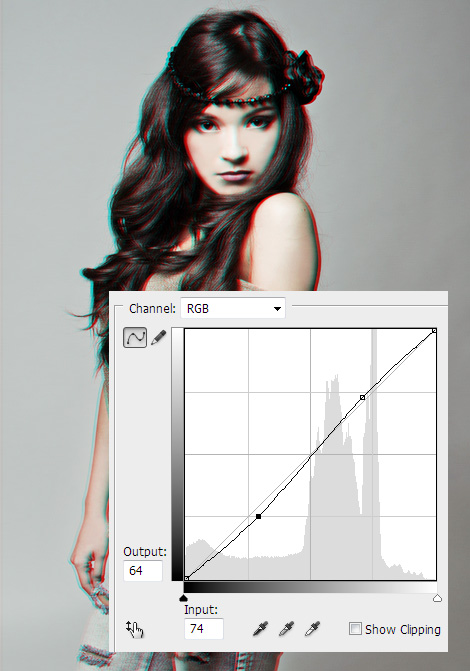
Lets add some contrast at Image > Adjustments > Curves. Here create a very slight S curve for very little contrast beween the dark and light colors. Press OK.
5.
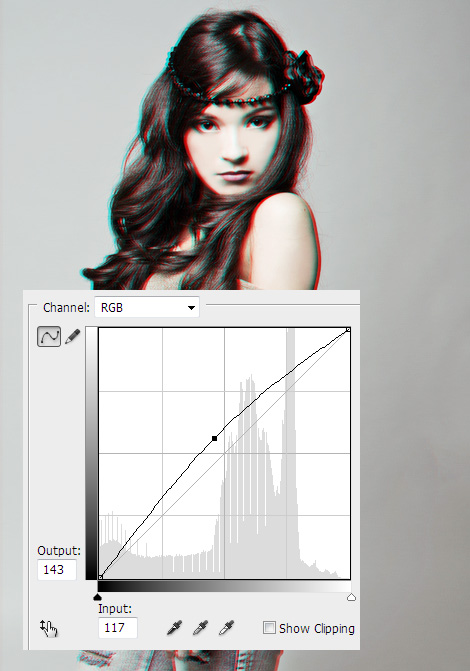
Optional: If needed, add some light by just raising the curve slightly. Press OK.
6.
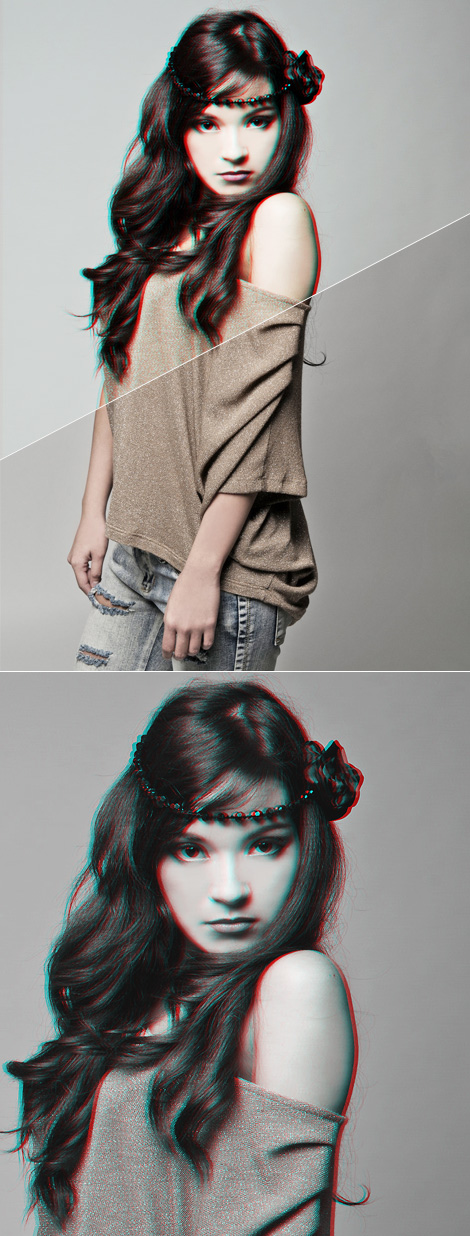
And your 3D effect is done! You can test it out also in black and white.