Photo Editing – Create a Imaginative Picture of a Goldfish in a Light Bulb Aquarium in Photoshop
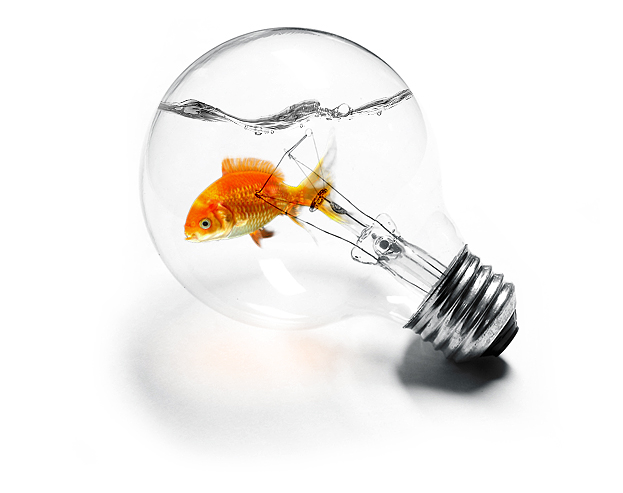
This tutorial will show you how to make a light bulb aquarium for your goldfish in Photoshop.
01. Open a picture or a light bulb. It would be perfect if the glass part would be transparent not colored or covered.
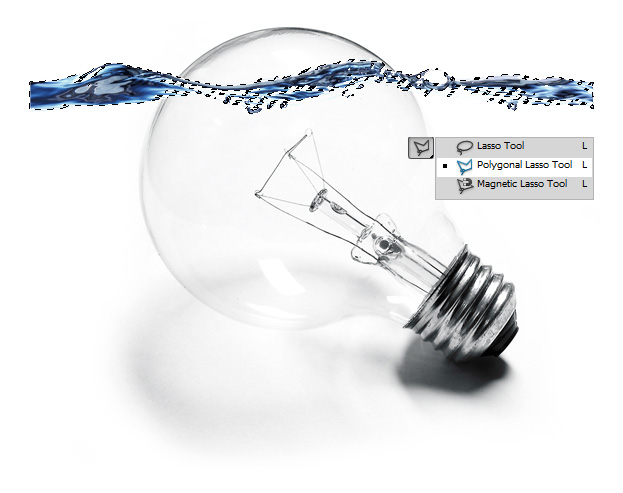
02. Open a picture of water surface, cut it out using Polygonal Lasso tool or Magic Wand tool.
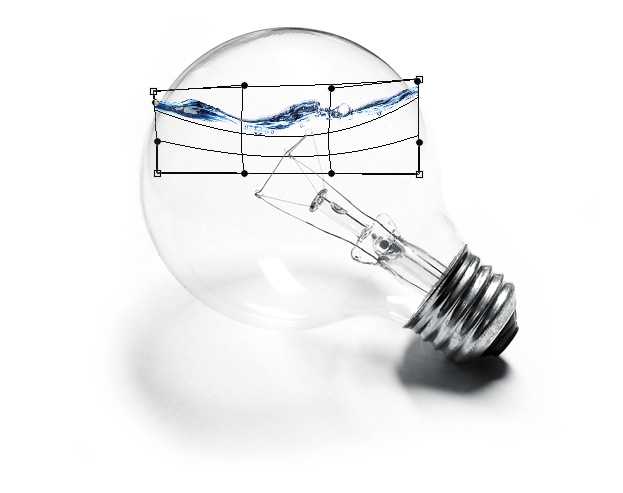
03. Resize the water going to Edit – Transform – Scale. Then reshape the water a bit by going to Edit – Transform – Warp. Now just move inside the selection with your mouse the way you wish your water to be shaped. Press Enter when done.
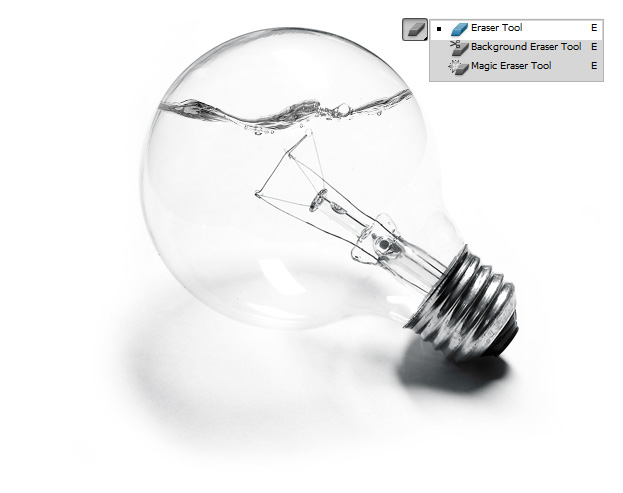
04. Take the Eraser tool and delete anything that is over the edges of the bulb. Then go to Image – Adjustments – Desaturate to make the water black and white so that it looks like we are dealing with crystal clear water.
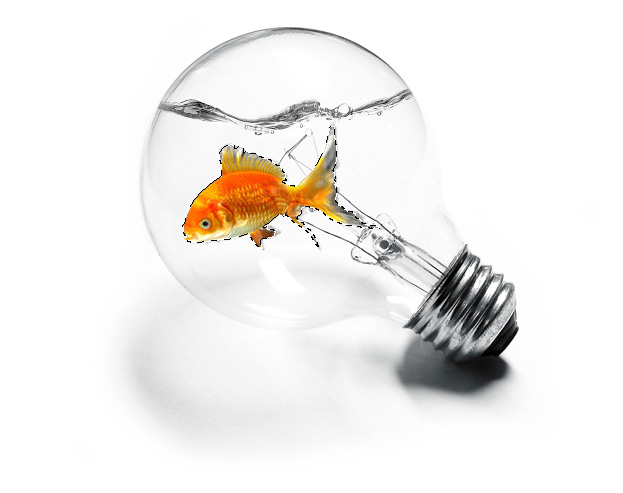
05. Now open your fish and drag it onto your bulb. Cut it out using the Lasso tool and place it where you wish it to be.
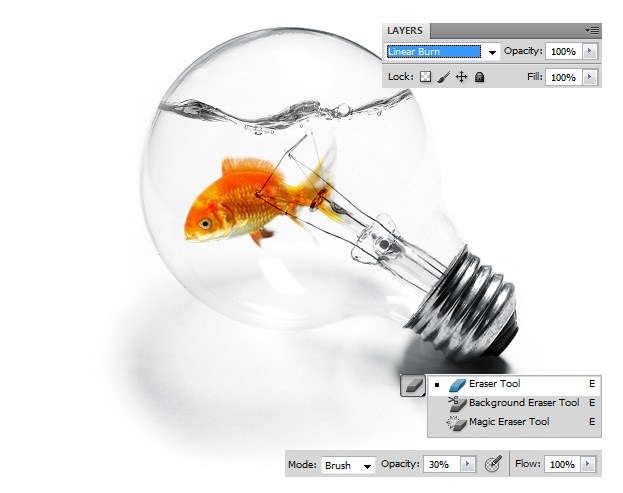
06. Set the layer style of the fish to Linear Blur so that it looks like it is behind the wires inside the bulb. Then take the Eraser tool, set the Opacity to 30% or lower and gently make the fins more transparent.
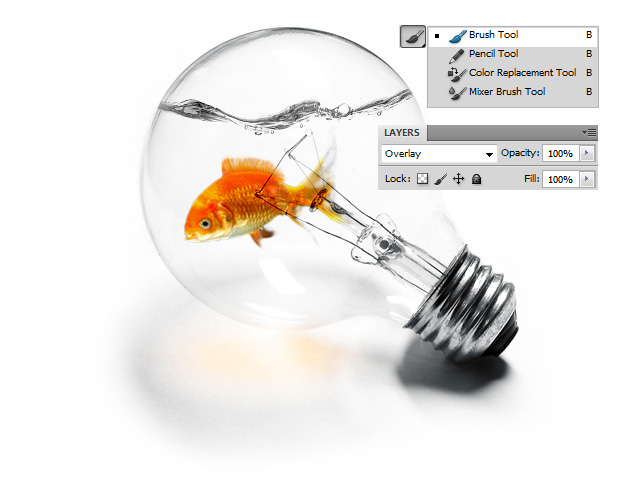
07. Create a new layer (Layer – New – Layer), take the Brush tool, set the color to your fish color and brush over the lower part of the bulb shadow – right beneath the fish so it wouldn’t be just the bulb’s shadow but also the fish has its own shadow. Put the shadow’s layer style to Overlay.
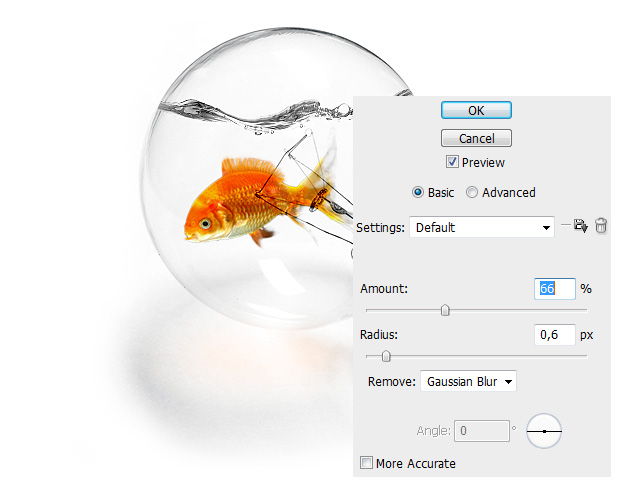
08. Merge your layers by selecting them all, right clicking and choosing Merge Layers. Then go to Filter – Sharpen – Smart Sharpen and add some sharpness on your image.
And your fish is ready to be shown around!
