How to Use the Ruler in Adobe Photoshop
The ruler tool is not a tool that you cannot live without but it certainly comes very handy when trying to get your things aligned, centered or just measured. In this tutorial we will look at the ruler tool in the percentage perspective too see how that tool exactly works.
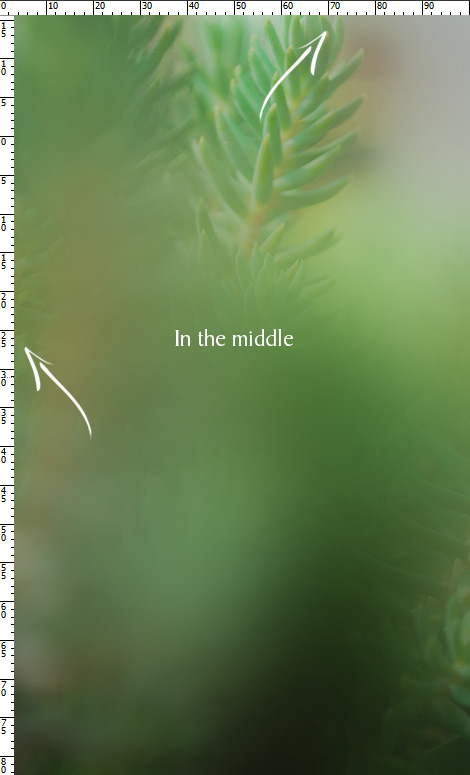
01. Lets say you have a picture where you’d wish to add some simple lines. You insert a text, squint an eye a bit and think the text should be exactly in the middle now. But is it?

02. To start using the ruler tool, you’d need to enable it. Just go in the menu to View > Rulers or just press Ctrl (Command) + R. Now you can see the ruler tool. It comes on the upper side to show the width and on the left side to show the length.
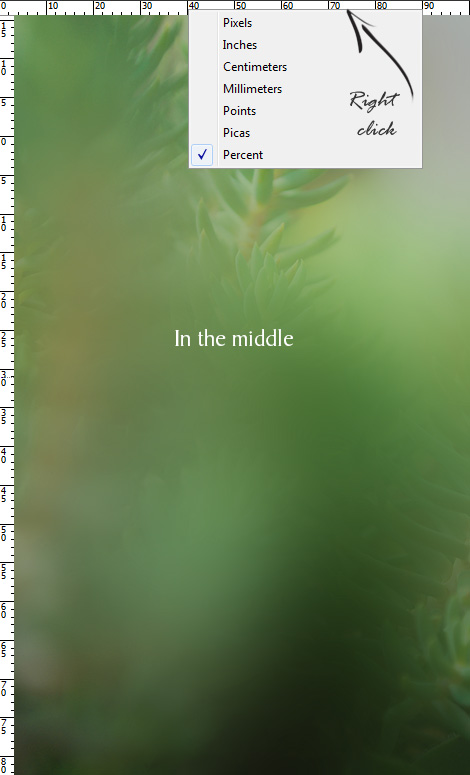
03. You can change what measurments the ruler displays. To change it, simply right click on the ruler’s white space and choose your favorite option. We have it on percent since its the easiest to determine the middle point then.
04. So, how to use it? To take the most out of your ruler, create some guides. The create a horizontal guide, just click on the ruler and drag. Like that you drag a line out of the ruler that serves a role of a guideline. Do not worry, it wont change your image in any way when saving. Its just there inside Photoshop for guiding, outside, it disappears.

05. You can also drag a vertical guide out from the left side of the ruler. You can drag as many as you wish and can always adjust the location of the previous ones. Just be sure you arrow tool is selected.
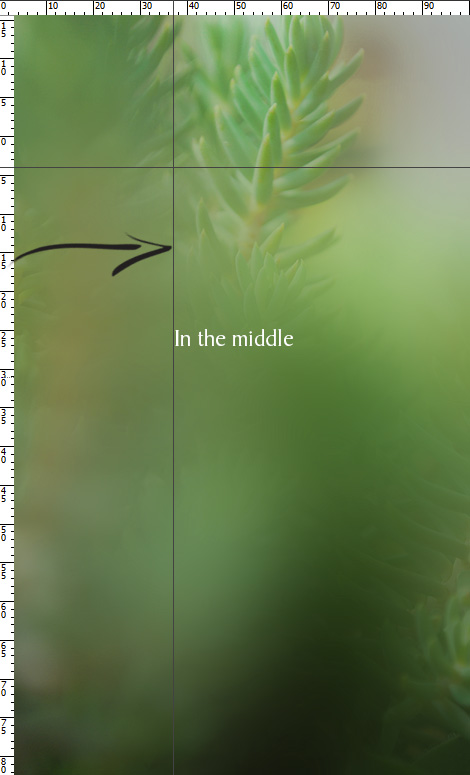
06. Now, let put it to actual use. Since we want the text to be exactly in the middle, we care about the vertical line to be exactly in the middle. Just drag the guide to be at 50% since the whole document width is 100%, 50% is the middle. Now select your text layer, press Ctrl (Command) + T to select it in a way you see the exact mid point and move it exactly in the middle. Press Enter.

07. Press Ctrl (Command) + H to hide the guides (make them visible again at the same spot pressing Ctrl + H again). To make the ruler tool disappear, just press Ctrl (Command) + R again. And now you know the basics of a ruler tool.