How to Use Ink Outlines Filter to Get a Cool Ink Sketch Look in Photoshop
This tutorial will show you how to use ink outlines filter in Photoshop to get a cool sketch look, at the same time creating a cool photo manipulation of a hand drawing a picture with an ink pen.
01. First open your main picture which you’d wish to transform into an ink drawing.
02. Make the picture into black and white by going in the menu Image – Adjustments – Desaturate.
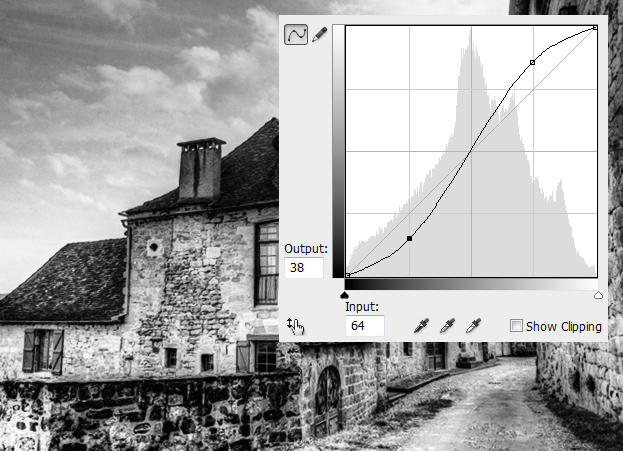
03. Now go to Image – Adjustments – Curves and make an S curve by raising the upper part of the line and lowering the other end. This way we give more contrast to the picture.
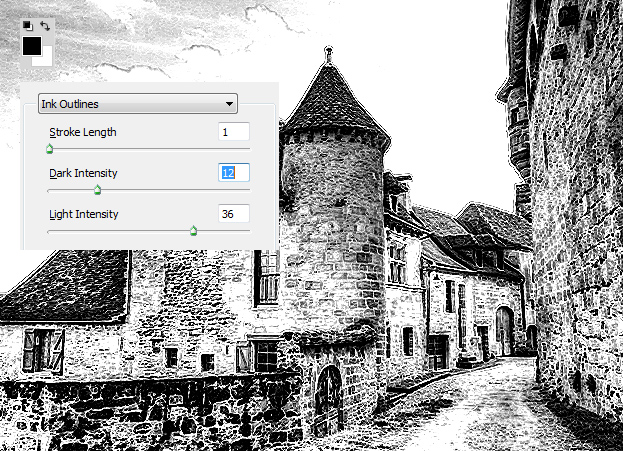
04. Now it’s time to play with Ink Outlines filter. First set the 2 colors to black and white. To add the filter, go in the menu to Filter – Brush Strokes – Ink outlines. There you see 3 bars you can move. The 1st one makes the pen strokes either short or longer. We lower the value to 1 to have very sharp and precise look, no stokes. The dark intensity value will make your blacks either more black or less black. The High Intensity makes the lights more light or less light. Press OK to accept the changes.
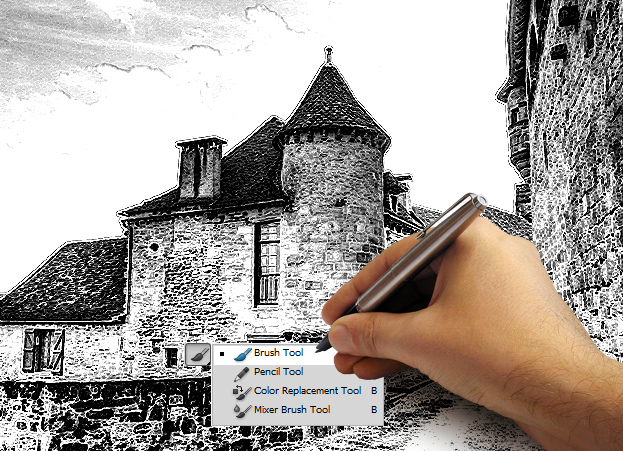
05. Now open a picture of a hand that is holding a pen. Move the picture where you’d wish it to be. Then take the Polygonal Lasso tool or any other selection tool to cut the hand out of its background.
06. Create a new empty layer and take the brush tool. Set the color to black and paint under the hand to create a shadow, lower the shadow’s opacity to about 30%.
07. Tilt the picture a bit by pressing Ctrl (Command) + T or going from the menu to Edit – Transform – Scale. Make sure that under your picture is a white background.
08. Now take the brush tool and select a brush that has uneven edges and start painting over your picture’s edges with a white brush to achieve a work in progress look.
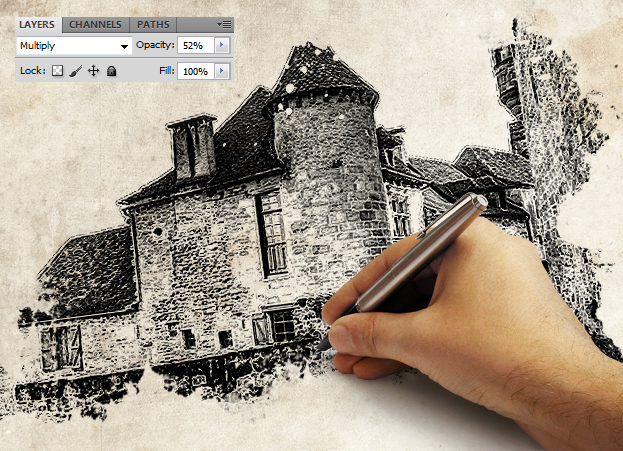
09. Open an old paper texture and place it on top of your pictures.
10. Set the blend mode in the layers palette to Multiply and lower the opacity to about 50%.
11. And your ink sketch is ready!


