How to Use and Change the New Interface in Photoshop CS6
This tutorial will show you the new Photoshop CS6 starting with the basics – the new interface, and teaching some useful things such as how to use the new interface and how to change it.
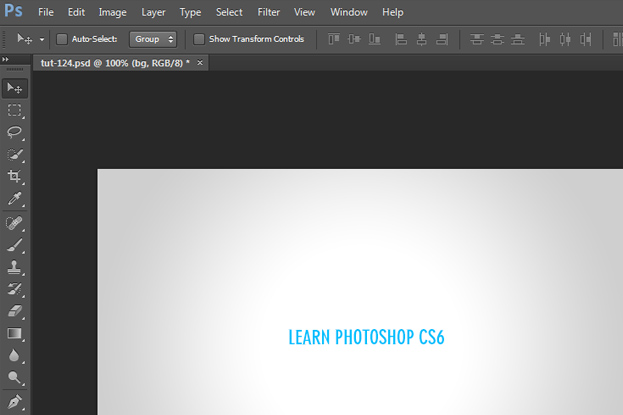
First thing that you notice when opening Photoshop CS6 is the new dark interface which allows you to completely concentrate on your artwork.
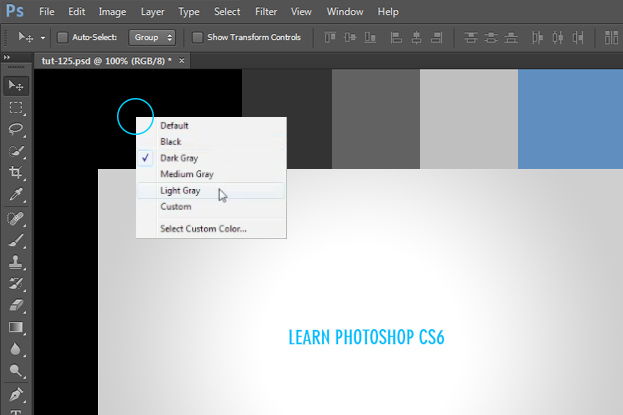
But what if you are too use to Photoshop’s old lighter look or you’d just like to customize some parts a bit? First lets look how would you change the background color that lays outside of your image. Just right click on that area and choose any color you’d like – black, dark gray, medium gray, light gray or a custom color that has all the shades in the world. Some preset colors are shown below on the picture whereas the Dark Gray is the default color.
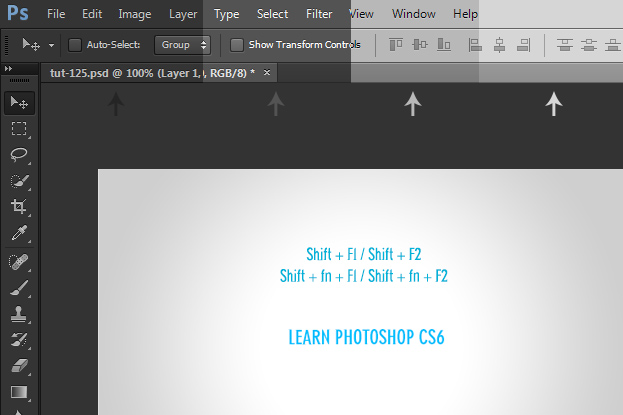
You may also want to change the Photoshop interface colors to feel more like in “home” if you are too unused to the new look. You can choose from 4 different interface colors which you can toggle by pressing Shift + F1 /Shift +F2 in PC and Shift + fn +F1 / Shift + fn + F2 in Mac. The colors that you can toggle with are shown on the picture below.
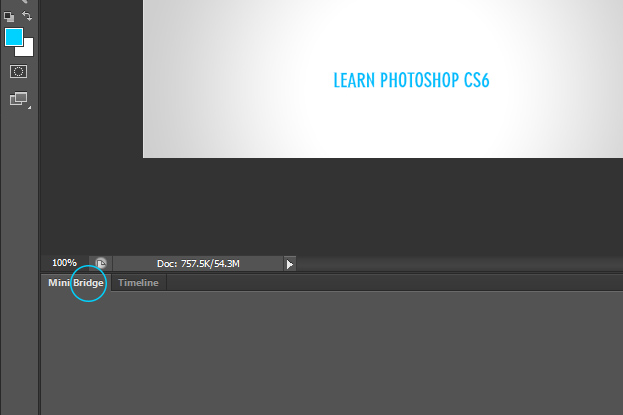
Also, now you can access the Bridge right inside your Photoshop from the tab that is located on the lower left of the Photoshop. Double click on the tab to close it.
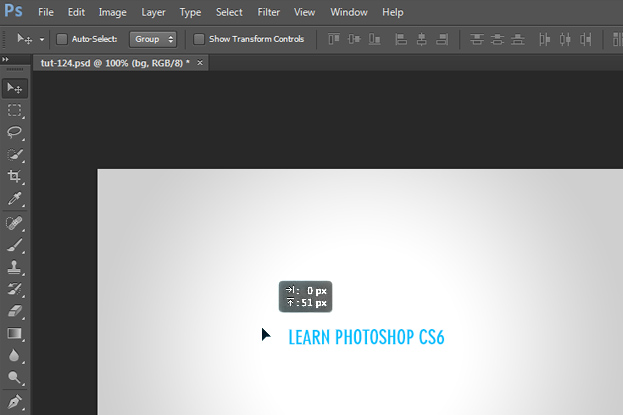
Also a completely new tip box has been added that will show you exactly how much are you moving the object or when scaling, how big is the object. It also works when turning things by showing the angle the object is turned and raising/decreasing according to your movement.
And that is all that you’ll need to know about the interface of the new CS6 being fully customizable to any taste.
