How to Sharpen Blurry Picture in Photoshop
Ever tried taking a picture in poor light conditions? Without flash, the result will no doubt be blurry and unsatisfying. This tutorial will show how to sharpen a blurry image in Photoshop.
01. Open the picture you’d like to sharpen up.

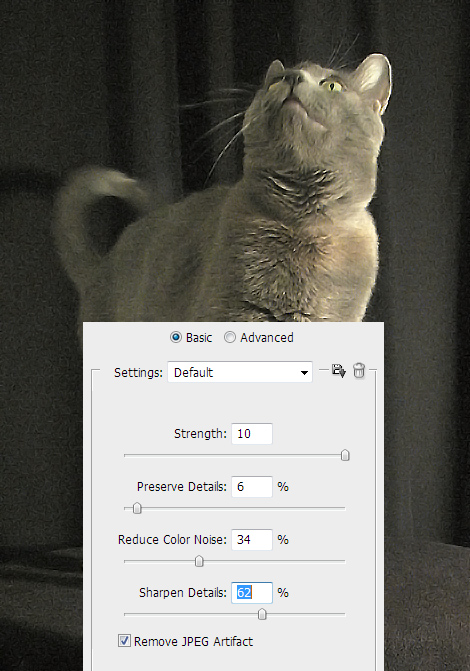
02. The blurry images usually include some noise also, so lets get rid of that. Go to Filter > Noise > Reduce Noise and set some values. Do not raise the Sharpen Details bar too much unless it looks nice. Press OK if your image is noise free and has some more sharpness.
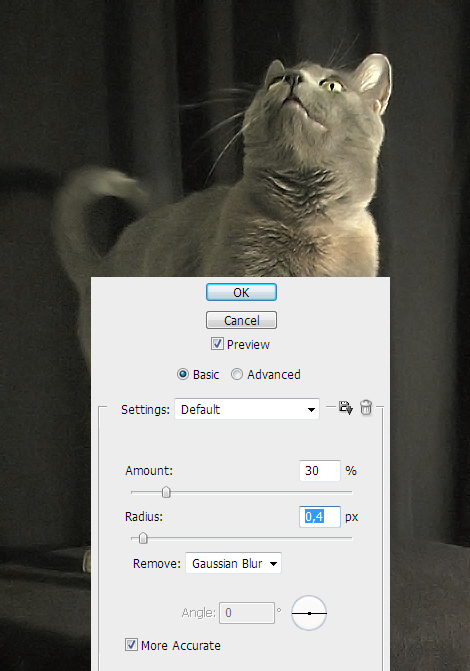
03. Now its time to actually sharpen the image. Go to Filter > Sharpen > Unsharp mask and set some values. The values function as follows:
- Amount – sharpness as a percentage.
- Radius – is how many pixels wide the sharpness will effect
- Threshold – How much sharpness is given. A higher threshold will create an image which looks harder and visa versa.
Press OK if your image looks very good now.

04. If Unsharp mask is too strong for you, the alternative is to use Filter > Sharpen > Smart sharpen. The values function as follows:
- Amount – sets the amount of sharpening. A higher value increases the contrast between edge pixels, giving the appearance of greater sharpness.
- Radius – determines the number of pixels surrounding the edge pixels affected by the sharpening. The greater the radius value, the wider the edge effects and the more obvious the sharpening.
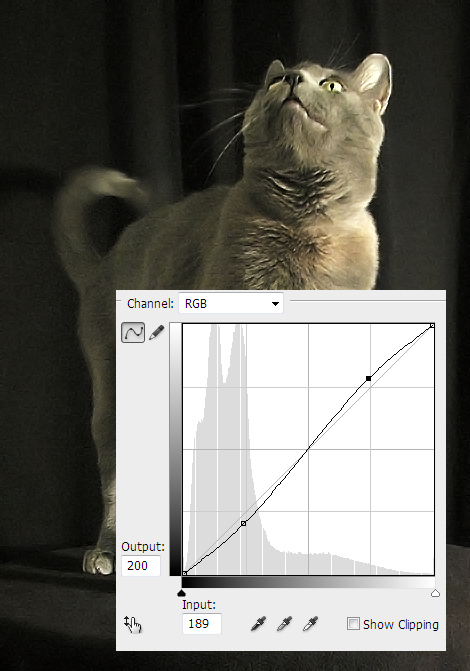
05. Some contrast never does bad either. For that go to Image > Adjustments > Curves and create a very small S-curve. Press OK.
06. And your picture is nice and sharpened!
