How to Put Together a Wide Angle Panorama in Photoshop CS6
Do you have many pictures that you’d wish to connect with each-other to create a panorama? Seems like too much work – color adjusting, rotating, making pictures match etc? Not in Photoshop CS6! This tutorial will show you a new feature that makes making panoramas a true pleasure.
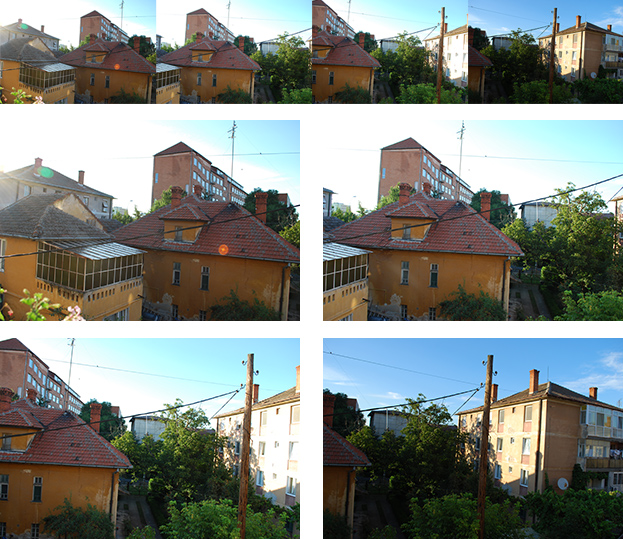
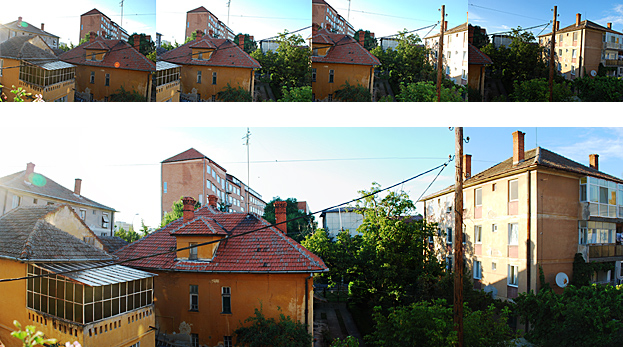
01. First what you need is a series of pictures. No matter how many but at least two of them. Down here we have 4 pictures of regular houses that has been taken with free hand right next to each-other. Now we want to connect them and match them. As you can see, putting them side by side would not work at all.
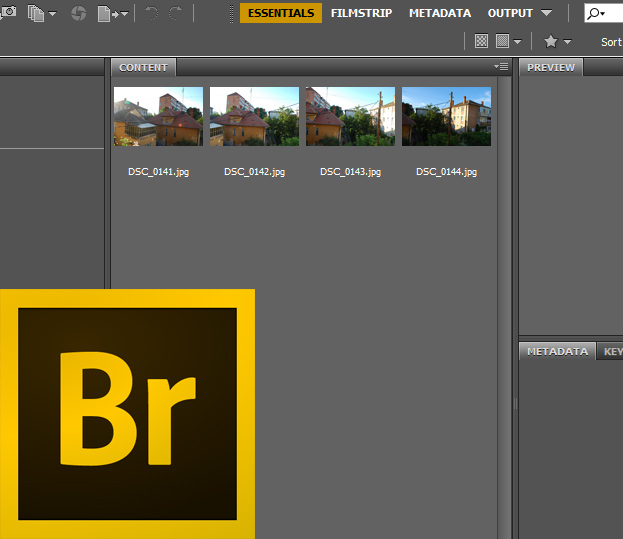
02. To start connecting the pictures, you need to open Adobe Bridge CS6. There, locate your pictures.
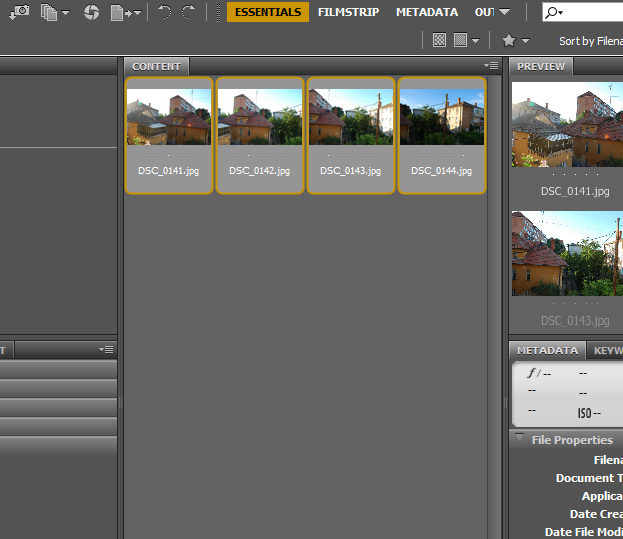
03. Now select all of the pictures that you’d wish to connect with each-other to create a panorama.
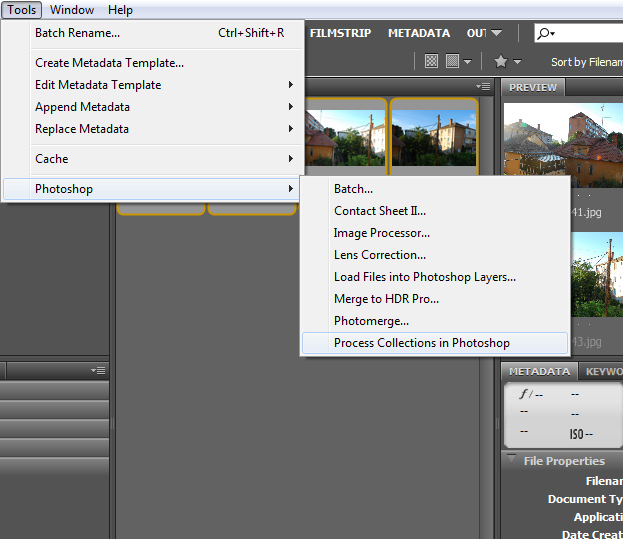
04. When you have selected the pictures, in the Bridge go to Tools – Photoshop – Process Collections in Photoshop.
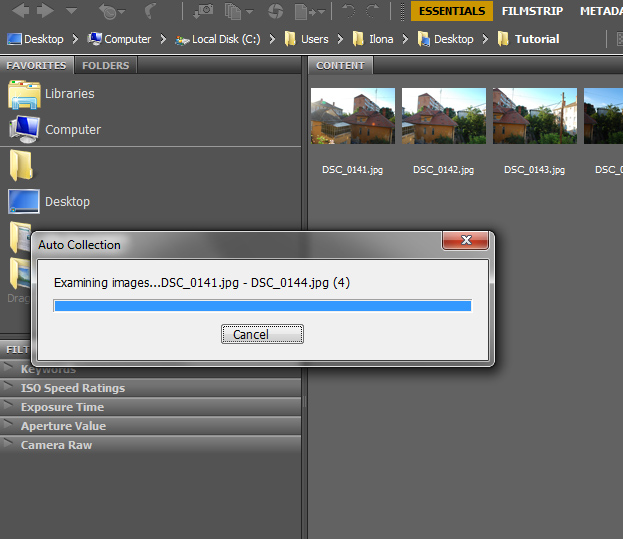
05. Now you will have to wait a bit til Bridge analyzes the pictures and tries to put them together. If you are working with many large files, it may take a while.
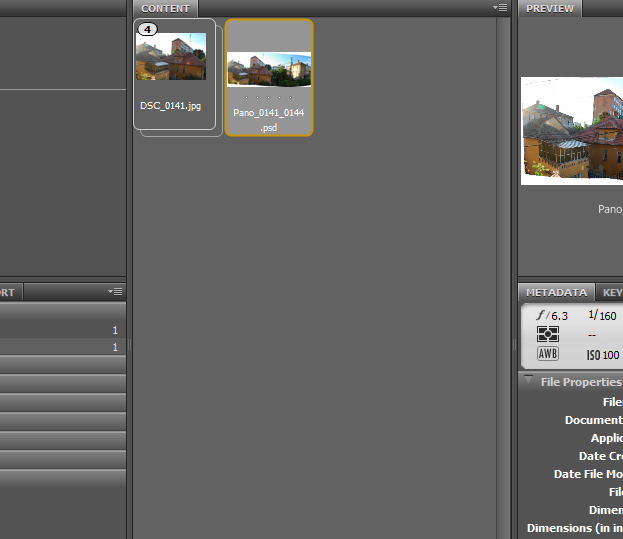
06. When it finishes, a new connected file will be created next to your pictures. Double click on it to open it in Photoshop so you can adjust it.
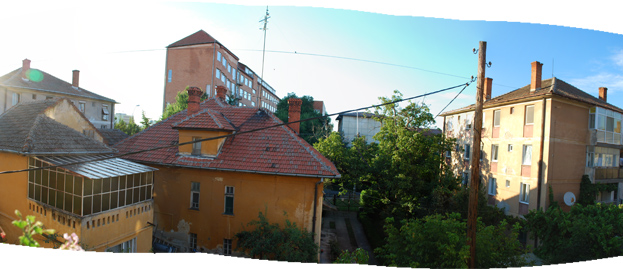
07. Since the pictures were taken with free hand, when putting them together, it may not look perfect on the edges. But Photoshop defenitely did very good job with connecting the pictures. Everyhting looks very natural and in its place. Now you either crop out all the bad edges or try to fix as much as possible in the Filter – Adaptive Wide Angle and then crop the rest.
08. As you can see, Photoshop did wonderful job connecting the four pictures that might have looked as hard to put together. And now you know how to use a new Wide Angle command in Photoshop Bridge CS6.
