How to Make Muscles Bigger in Photoshop
Want nice big muscles and fast? This tutorial will show how to accomplish just that inside Photoshop.
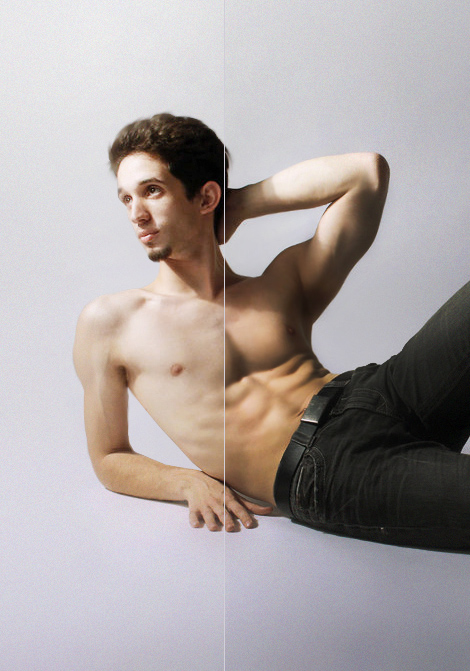
01. Open a picture where you’d wish to make the muscles look bigger. It does not have to be topless, but can also be a picture with a tight shirt or pants.
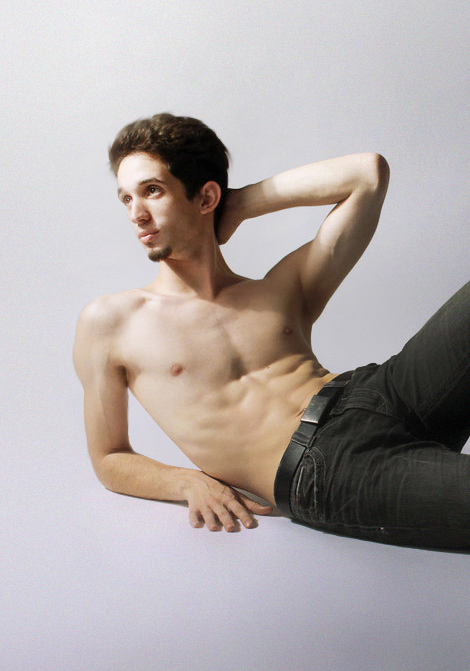
02. First lets scale some parts a bit. For that go to Filter > Liquify. Here select the 1st tool on top left, change the brush size on top right and start dragging muscles bigger. Don’t go over the top and think carefully what goes big what not to leave a good and natural result. Press OK when all of that is done.

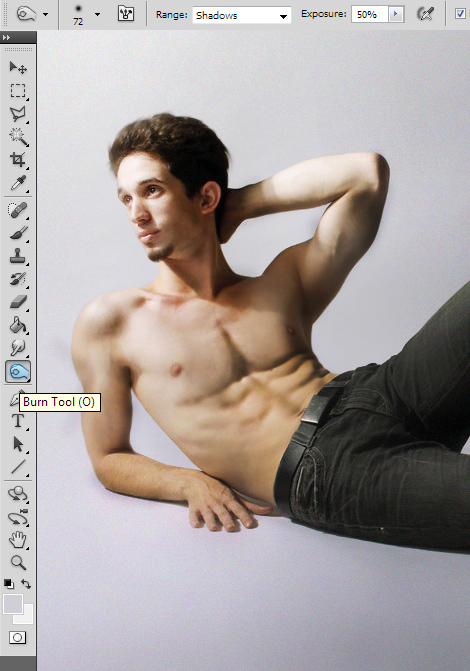
03. Strong muscles also have a fine definition and they show well, so lets add that. Duplicate the layer 1st (Layer > Duplicate layer)! Now take the Burn tool and start making darker some parts that are more inwards on muscles. Like gaps between the abs etc. Don’t worry if they come out too dark.
04. Add some highlight now, to leave the impression of nice big muscle. For that take the Dodge tool and add some highlights on the most higher points. Don’t add the highlights all over the body, just the most bumpier parts of muscles.
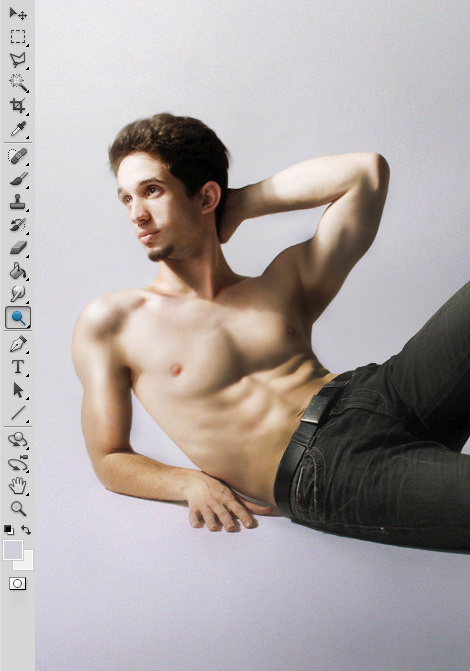
05. Now locate the layers panel and lower the opacity of the dodge and burn layer just as much as you’d like to. The more opacity, the stronger muscle (still do not leave it at 100% for the sake of realism).
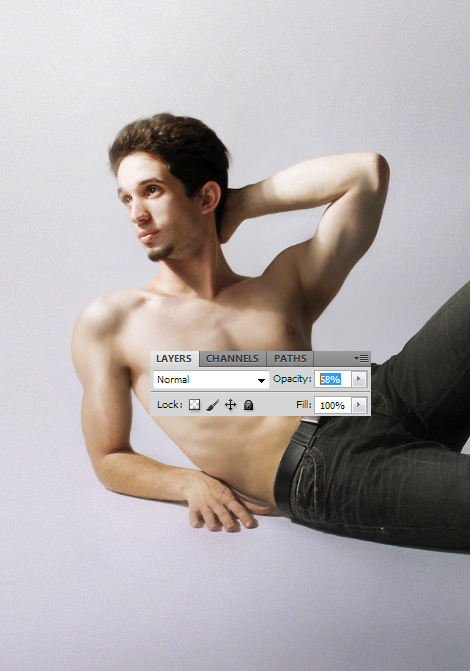
06. You can also darken the body a bit to leave a nice tanned look. And your muscles look better than ever!