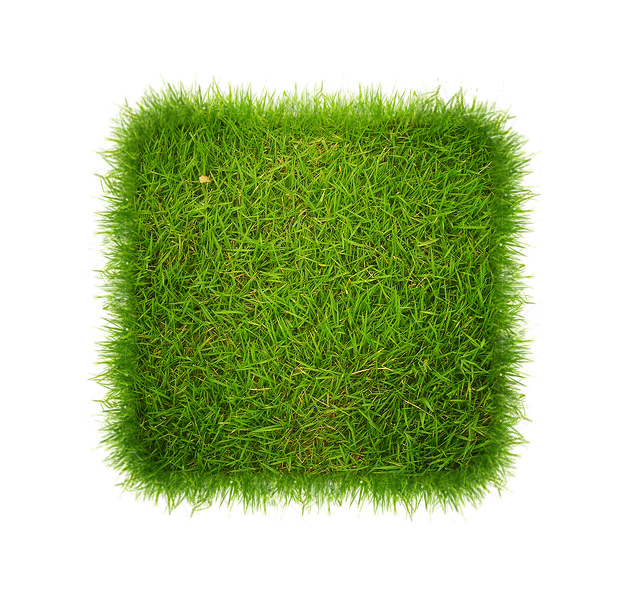
How to Make an Icon Out of Grass in Photoshop
This tutorial will show you how to make a cool grass icon in Photoshop.
01. Open a document and place a square of grass in the middle of it. For the best effect, the grass on the picture should be even and made from above not from an angle or side.
02. Now create a rounded edge square with Rectangle Tool just for guidelines.
03. Now hold down the Ctrl (Command) key and click on the square’s layer thumbnail (the small picture) to create a selection. Then select your grass layer and go to Select > Inverse and hit the Delete button. You may hide or delete the guideline square.
04. Now open a new grass picture, this time a sidewards picture. Place a fraction of in on the edge of your main grass.
05. Keep filling the edges with the grass and try to make them blend in to the main grass by gently deleting with soft brush the straight edges off.
06. Eventually you should cover all the edges of the square. This is your background now.
07. Now its time to put an actual icon on the grass background. For that select the main grass layer, then pick the Eraser tool, right click with it on the picture and pick a grassy brush.
08. You can change the direction of the brush tips in the Brush options. Then just start to delete off a shape of an icon.
09. You can delete off a shape of an F to create a Facebook icon, or you can create any other icon of your wish. And now you know how to make a grassy icon in Photoshop.


