How to Create Your Own Skype Icon in Photoshop
This tutorial will show you how to create a Skype icon in Photoshop. Creating it on your own gives you the freedom of playing around with the colors and shapes so that it would perfectly fit your website style.
01. First we need to create the Skype shape. It is very simple, just select the Ellipse tool and while holding the Shift key down create three circles. Like that they all count as one shape. If you cannot manage do to it like that – create three separate shapes, set them on their place, select all the circle layers and press Ctrl (Command) + E to merge them into one.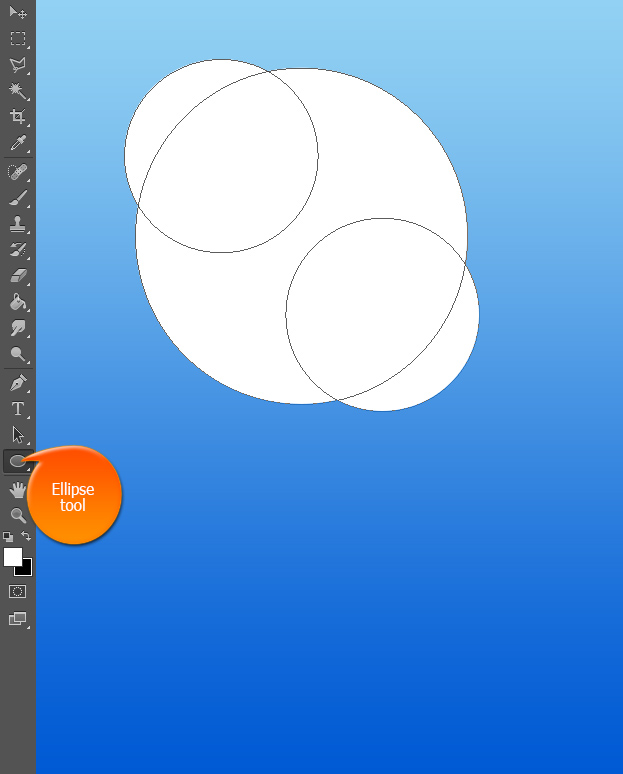
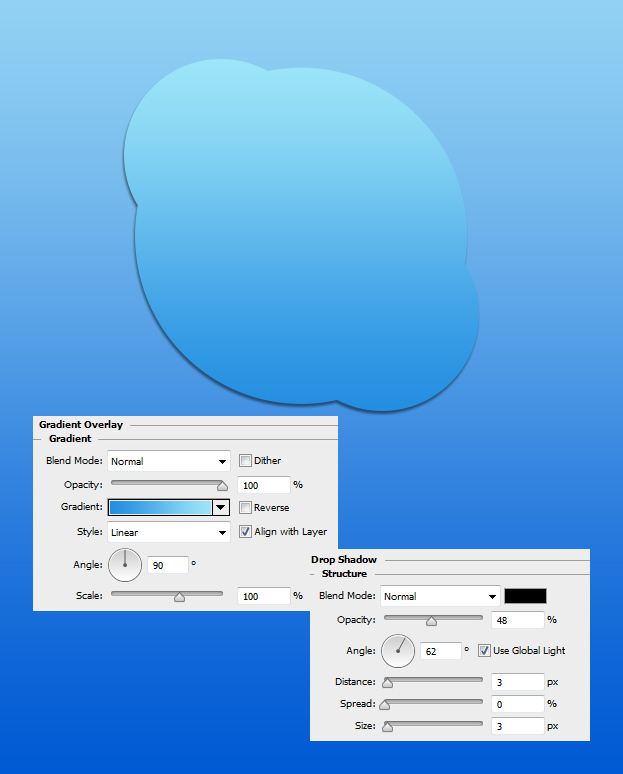
02. Now lets add some color and a shade. Go to Layer > Layer Style > Gradient Overlay and after that move to the Drop shadow tab.
03. And for the last, move to the Inner Glow and add a darker inner glow to the shape. Press Ok.

04. Now lets add some highlight. For that duplicate your shape (right click on the layer and select duplicate) and clear it from all the layer styles by right clicking on it and selecting Clear layer style. Now go to Edit > Transform > Scale (or Ctrl + T) and scale it a bit smaller than the lower shape is.

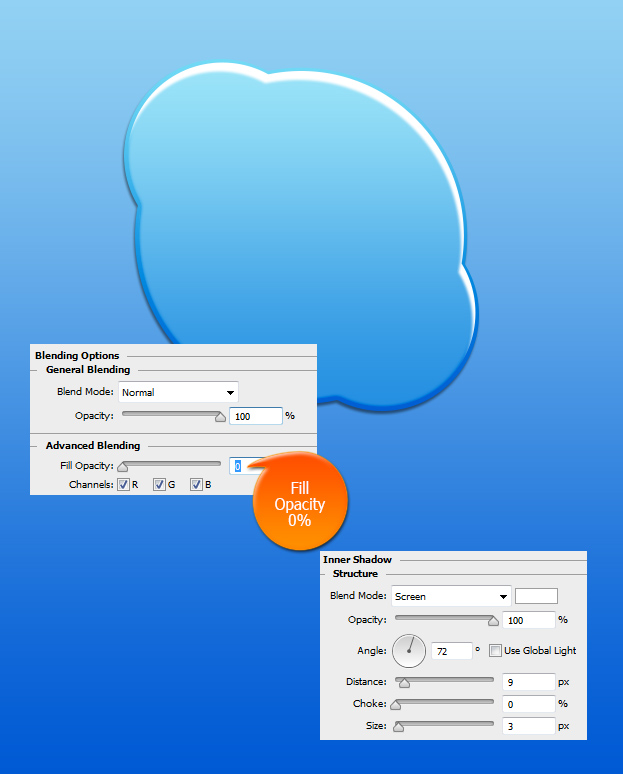
05. Go to Layer > Layer Styles > Blending Options and set the Fill Opacity to 0%. Then go to Inner shadow tab and add a light shadow on the top of the shape.
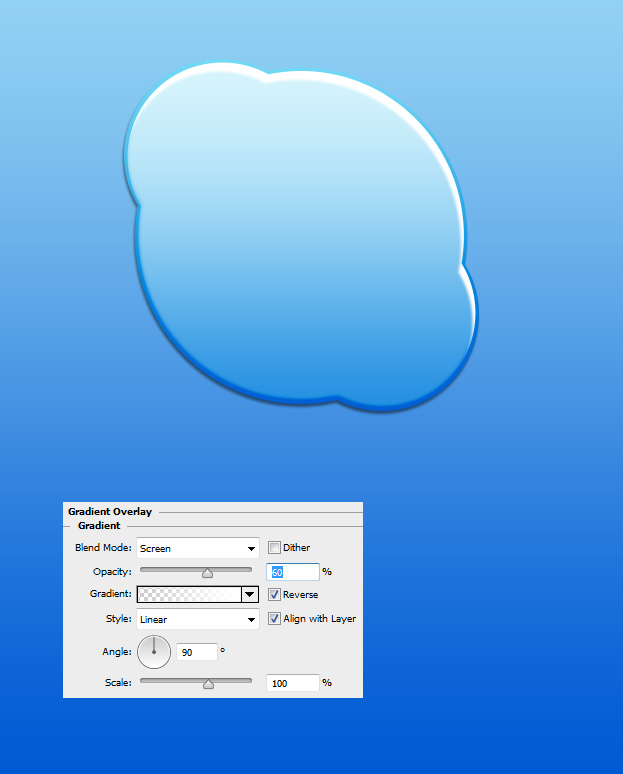
06. Then move to the Gradient Overlay tab and add a white to transparent gradient to the shape. Press Ok.
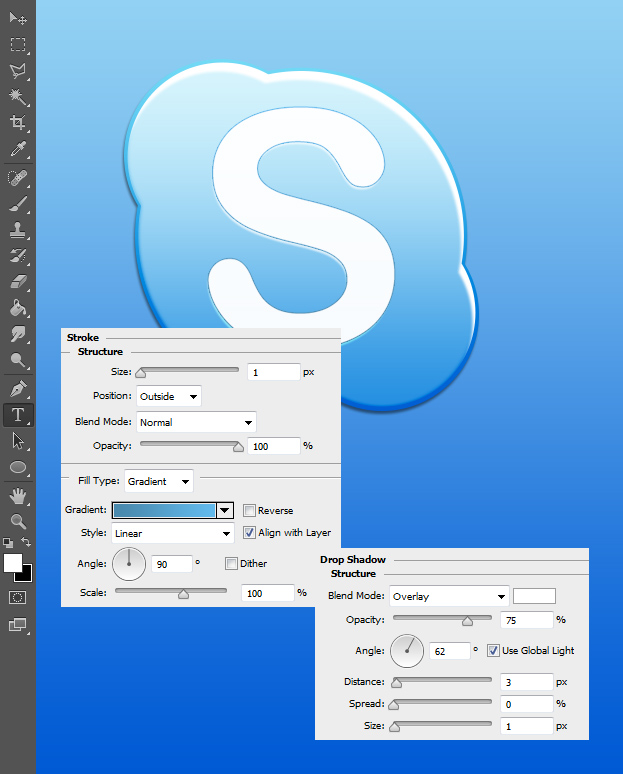
07. Now take the Type tool and type in big white S. Then go to Layer Styles again and add the S a darker stroke and some light shadow. Press Ok.
08. And your Skype icon is ready to be used!
