How to Create Windows Vista Style Background in Photoshop
This tutorial will show how to create a Windows Vista Style Background. All you need is:
- A picture that has some lighter/darker contrasts
- Adobe Photoshop
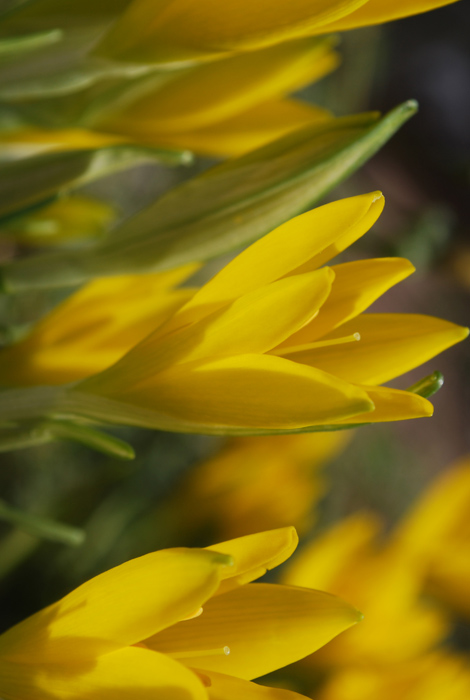
01. Open any picture that has some darker and lighter parts on it. It doesn’t matter what is on it or even how is the picture rotated.
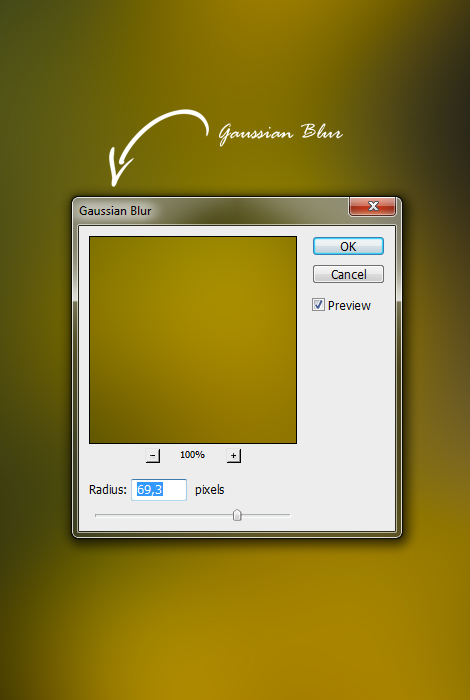
02. Now go to Filter > Blur > Gaussian Blur and add a very generous amount of blur on your picture. It should be just as much to wash off any details on the image, but that there still would some shadows/highlights visible. Press Ok.
03. Time to make the picture blue. Go to Image > Adjustments > Hue/Saturation. Here you’ll need to play around with the 3 sliders. The 1st one will determine your color, so just slide around to make all blue. The 2nd slider will determine the brightness of the color, so use it if your image doesn’t have as vibrant blue as you would have wanted. And the last slider shouldn’t be used, but what it does is either dim the colors or make the colors more washed away. Press Ok.

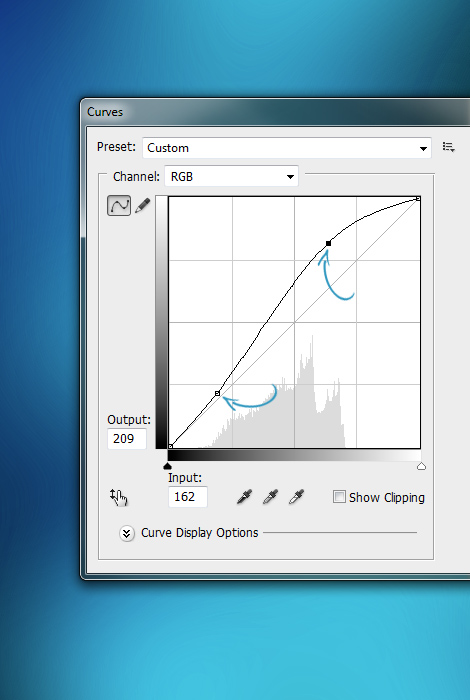
04. If you feel your image is still lacking some light/vibrancy, go to Image > Adjustments > Curves and raise the middle line a bit upwards. Press Ok.
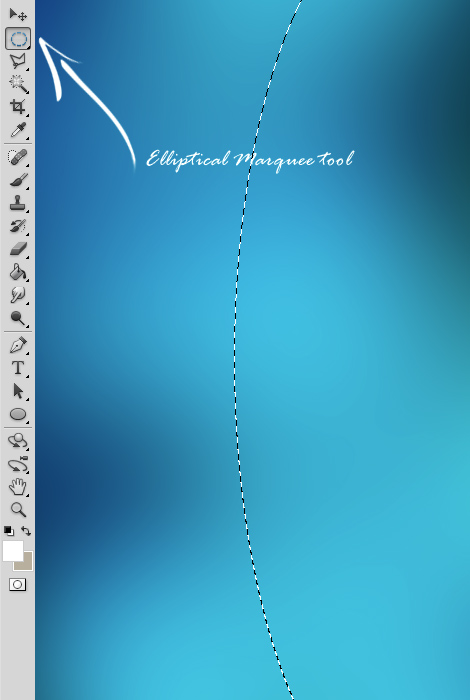
05. Now create a new layer (Layer > New > Layer) and select the Elliptical Marquee tool. Create a large selection.
06. Take the Brush tool, select color white and brush in the edge of your selection.

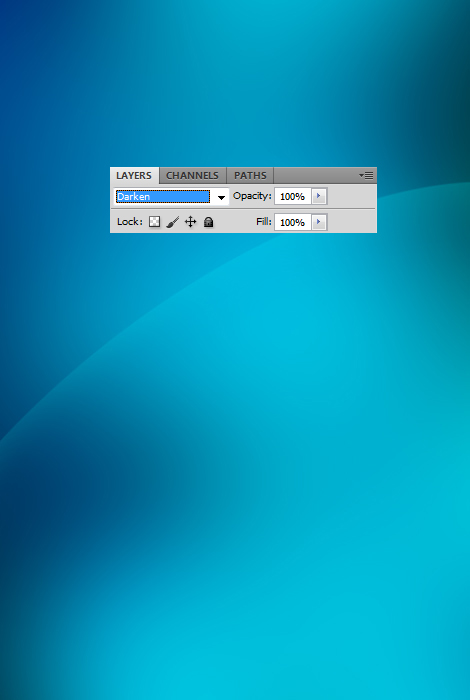
07. Rotate the new shape, set it a different blend mode form the layers panel and also lower the opacity. But be sure to play around with the blend modes.
08. Duplicate the shapes and rotate each of them in different way. Also set them all a different blend mode.

09. And your background is done!