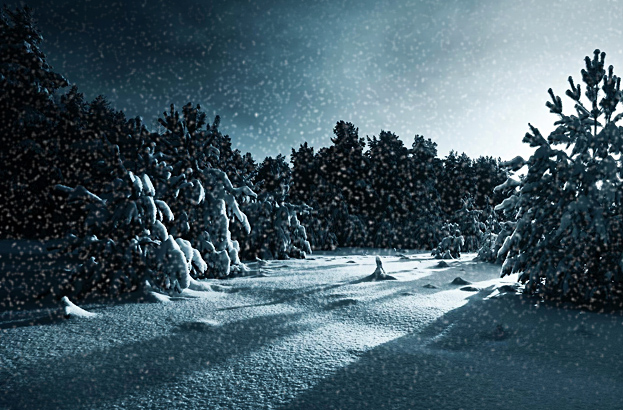
How to Create Realistic Falling Snow in Photoshop
This tutorial will show you how to create realistic falling snow in Photoshop.
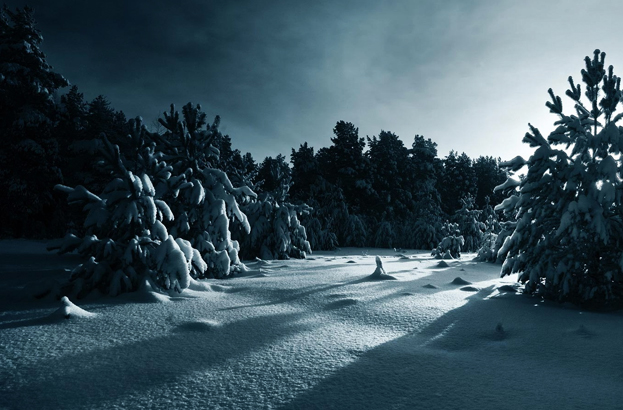
01. Open a picture where you’d wish to add the falling snow. It can be any picture, but a picture with a little bit of snow adds to the realism.
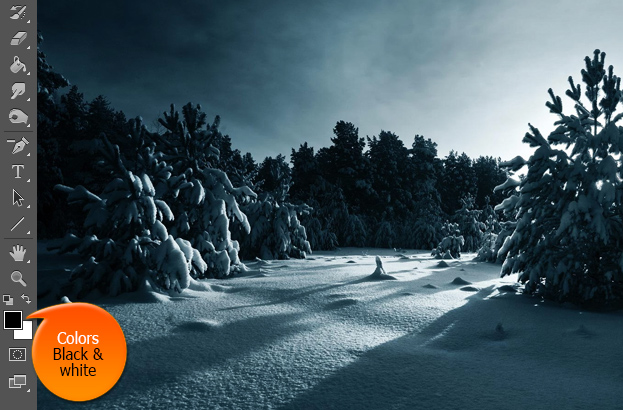
02. Set the foreground color to black and background color to white.
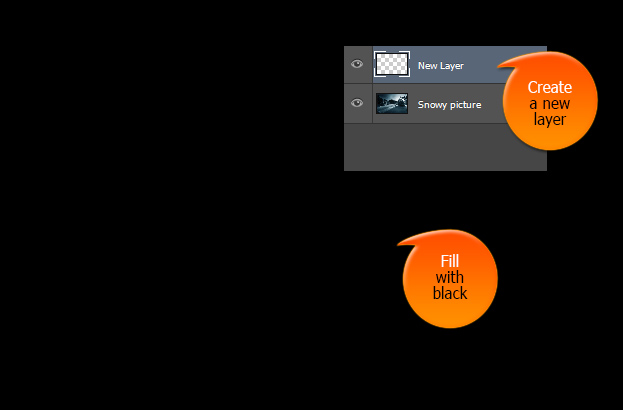
03. Create a new layer at Layer > New > Layer and fill the new layer with black.
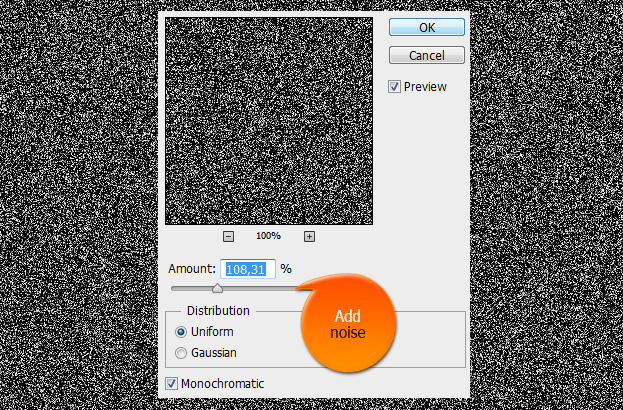
04. Now go to Filter > Noise > Add noise and add a good amount of noise on the black background.
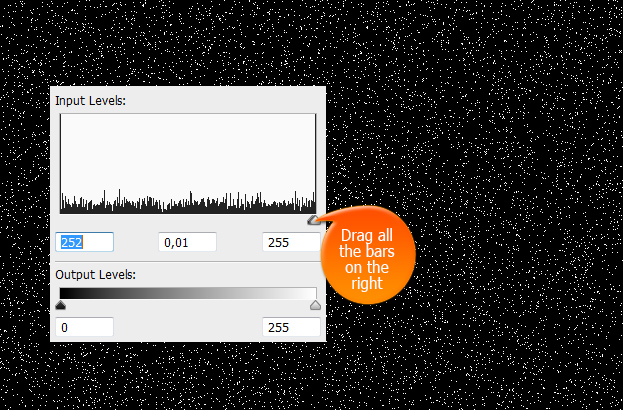
05. Lets reduce the amount of dots that’ll be our snowflakes by going to Image > Adjustments > Levels. There just drag all the bars to the right side. Press Ok.
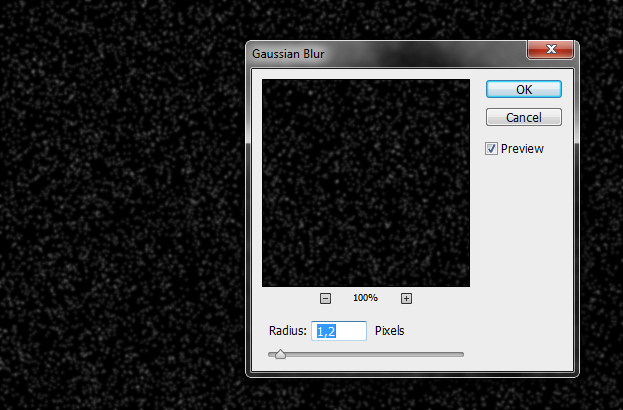
06. Now lets soften the flakes from Filter > Blur > Gaussian Blur. Add as much blur as soft you’d wish your snowflakes to be. But don’t make them too soft or it looks too smudgy.
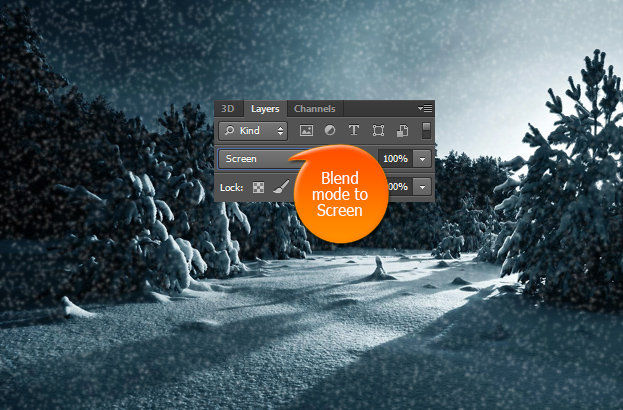
07. Now set the blend mode from the layer panel to Screen. This way your snow and picture will mix.
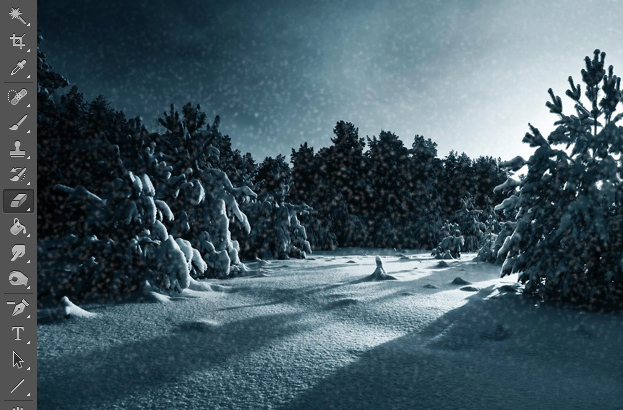
08. Take the eraser, set the brush to soft large brush, lower the opacity from 100% to lower and delete a bit from the the bottom and upper side of the snow.
09. And your snow is ready to fall!
