How to Create Pear Textured Text Effect in Photoshop
Ever wanted a cool fruit text style over your shapes or text? This tutorial will show you how to create pear textured text effect in Photoshop.
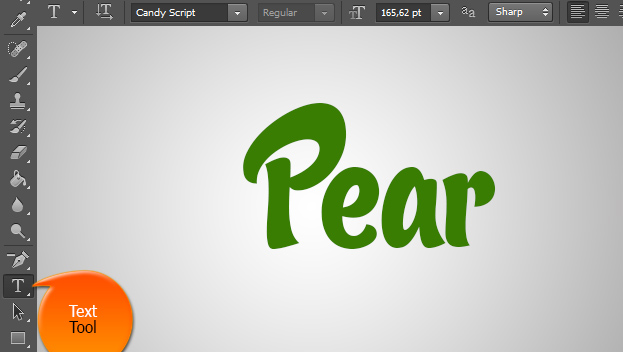
01. Open a new document and select the Type tool. Now fill in your text. It is recommended that the font would be bold ot the text style wont show very well. In this tutorial Candy Script font is used.
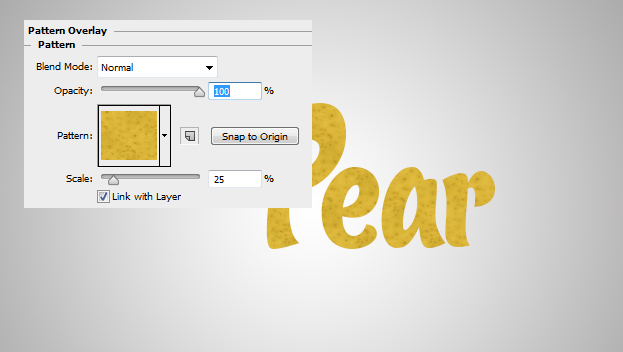
02. Now go in the menu to Layer > Layer Style > Pattern Overlay and choose a pattern that has some irregular dots on it.
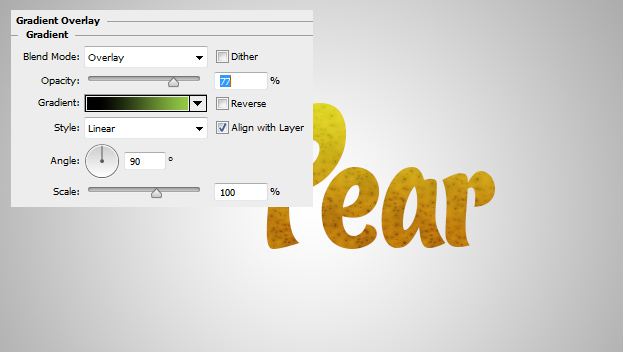
03. To give the pattern a color, move to Gradient Overlay tab and set a color there depending on your pattern color so if you set the color to Overlay, the pear color will be between yellow to green.
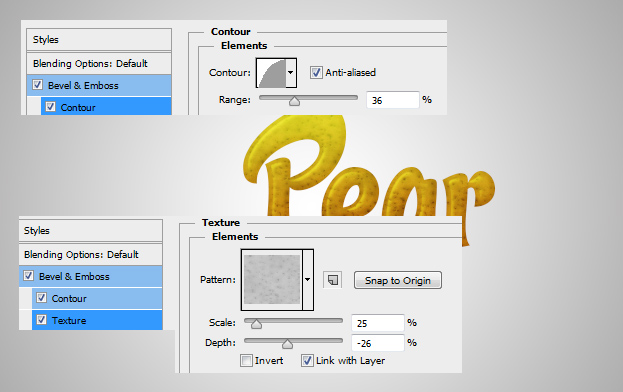
04. Now move to the Bevel and Emboss and set couple of values so that the style would look more round.
05. As you may have noticed, the Bevel and Emboss has couple of sub tabs. Activate them both – contour and texture.
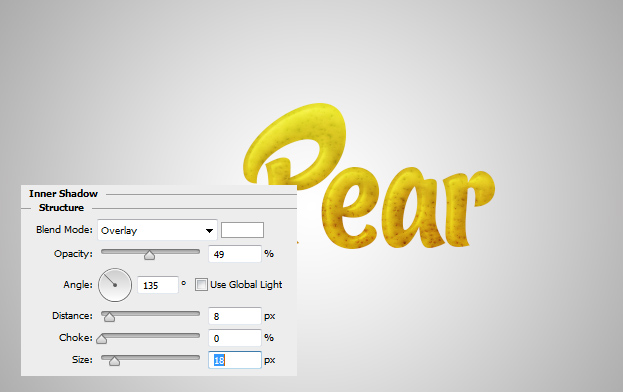
06. And to finish up, go to Inner Shadow tab and give the pear a nice light shadow on one side. Press Ok.
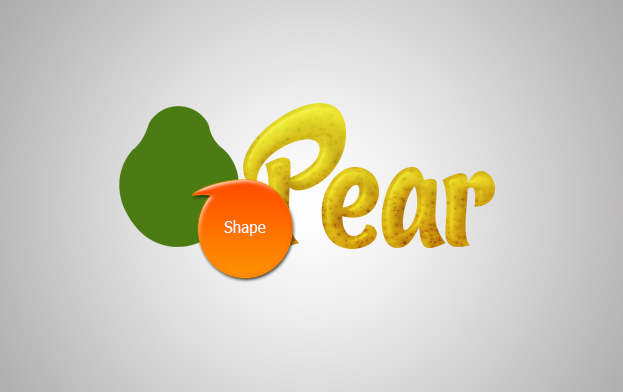
07. You can also add the same style on anything now, for example, on shapes. Just right click on the pear text layer in the layers panel, select Copy layer Style, then select the shape layer, right click, and select paste layer style and your shape will also have the same style.
08. For more realistic look, add some leaves. You can also add some shadow under the text and shape. Just create a new layer (Layer > New > Layer), take the brush tool, make a dot on the new layer, go to Edit > Transform > Scale and drag the dot into flat shape, press Enter.
09. Move the shadows under your shape and letters and you are done!
