How to Create an Elegant Coupon Design from Scratch in Photoshop
This tutorial will show you step by step how to create your own coupon design from scratch in Photoshop.
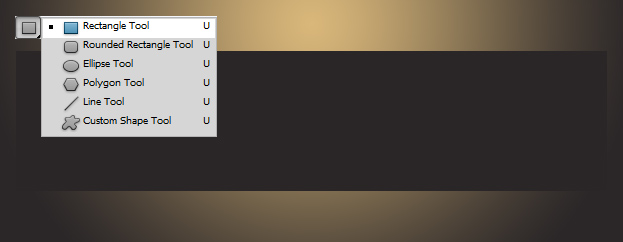
01. Fist lets create a shape of a coupon. We will go for the longer thin shape that is easy to give out and looks elegant. To make that shape, grab the Rectangle Tool, pick a color and just drag a longer shape along the background. For printing, just make the document size the size of the coupon and just fill the area with the color.
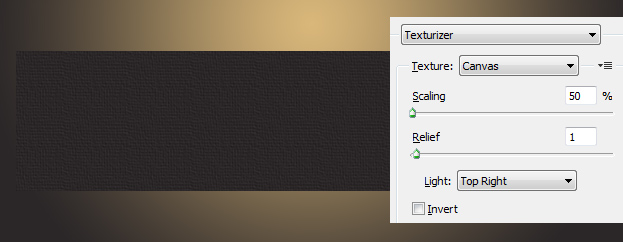
02. Now rasterize the shape you just made by going in the layers palette, right clicking on the shape’s layer and choosing Rasterize Layer. Then, in the menu, go to Filter – Texture – Texturizer and add a very small amount of canvas texture on your coupon. This way you are getting this strong paper look to it. If, however, you wish to go for the glossy effect, then skip the Texturizer parts. Press OK.
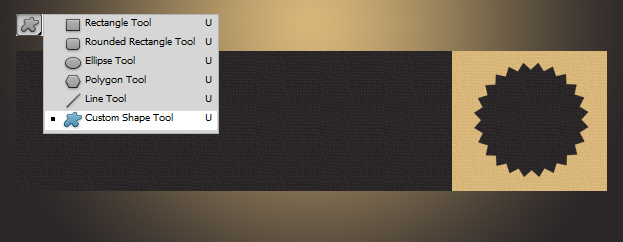
03. Now take the Rectangle tool again, choose a different color from your background and at one tip of your coupon, draw a square. Repeat the last step where you needed to rasterize the layer and then go to Texturizer. Then take the Custom Shape tool and draw a circle, either a regular circle or with some sharp edges. Repeat the texturizer steps.
04. Duplicate the shape you just made by right clicking on the shape’s layer in the layers palette and choosing Duplicate layer. Then Press Ctrl (Command) + T or go to Edit – Transform – Scale to scale the shape to smaller size so it would fit the other shape. Then go to Layer – Layer Style – Stroke and add a size 2 inside stroke to your smaller shape. Set the color the same as the square’s color. Press OK.
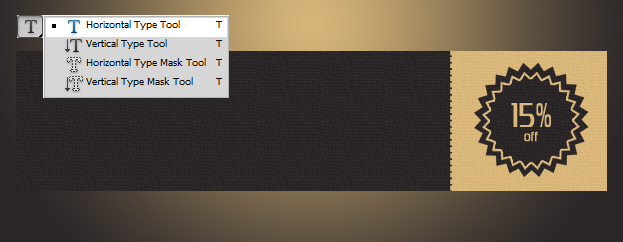
05. Now grab the Text tool and inside your shape write your discount number, preferrably the same color as the square’s color is. Then make a line out of hyphens – – – – – – – -, then turn it using the Transform tool (Ctrl + T) and move it against the side of the square.
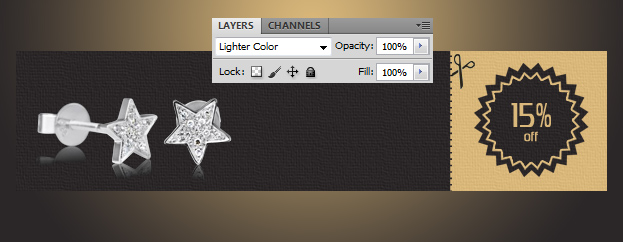
06. Now lets take your product’s picture. If its a simple picture, then just move it to one side of your coupon leaving enough space for some text. If your product comes with its own background then it would be best if you use the blend mode to lose the background. My picture’s bacground was black, so for that picture a blend mode Lighter Color worked the best. But if your color is different, then it is always good to go through all the blend modes. Also, add some scissors at the edge of the ripping o cutting part.
07. Now take the Type tool again and add some text. Don’t try to write everything on one coupon – the history of your company, the products etc. Keep it short and to the point to make an impact.
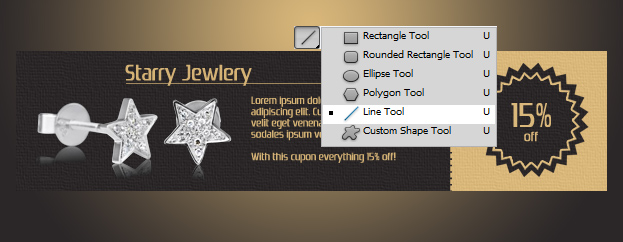
08. And lastly, take the Line tool, set the color and draw a line between your headline and the text.
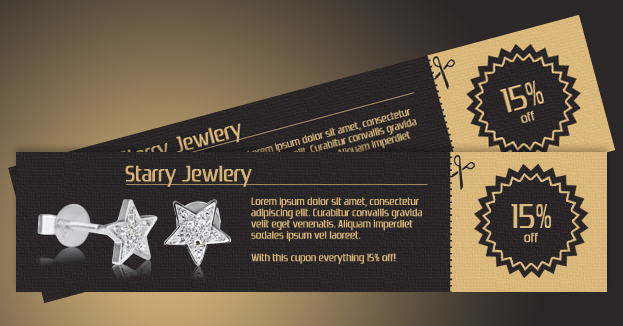
09. And your coupons are ready to be shared with everyone!
