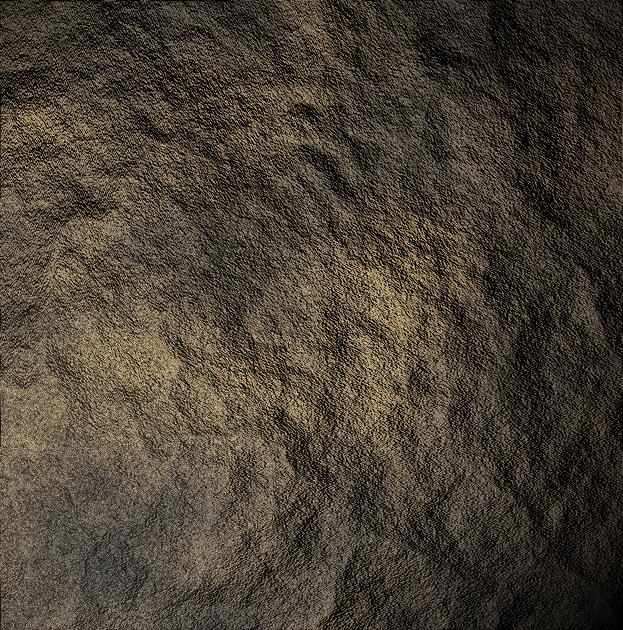
How to Create a Realistic Stone Texture from Scratch in Photoshop
This tutorial will show you how to create a very realistic stone texture inside Photoshop.
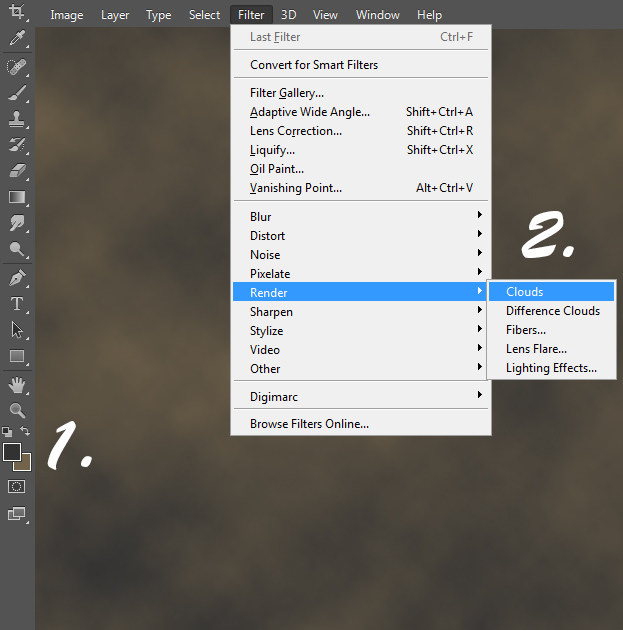
01. Fistly, set your stone two basic colors from the color select at the toolbar. Then go to Filter > Render > Clouds and you’ll get a cloudy mixture of those colors.
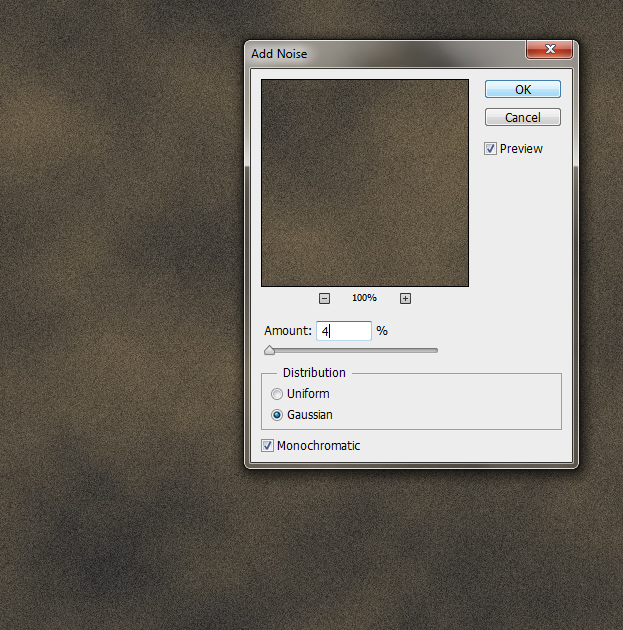
02. Go to Filter > Noise > Add noise and add a small amount of noise. Press Ok.
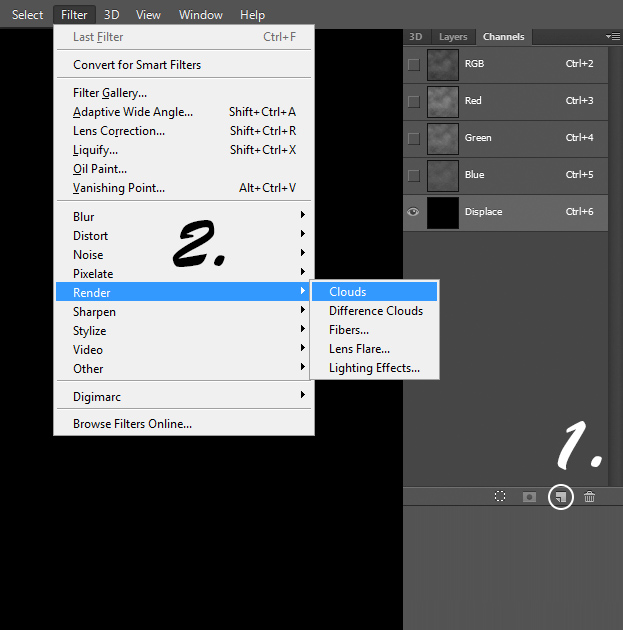
03. No move to Channels panel and create a new channel by clicking on the small icon below. Then go to Render > Clouds and make that layer also cloudy.
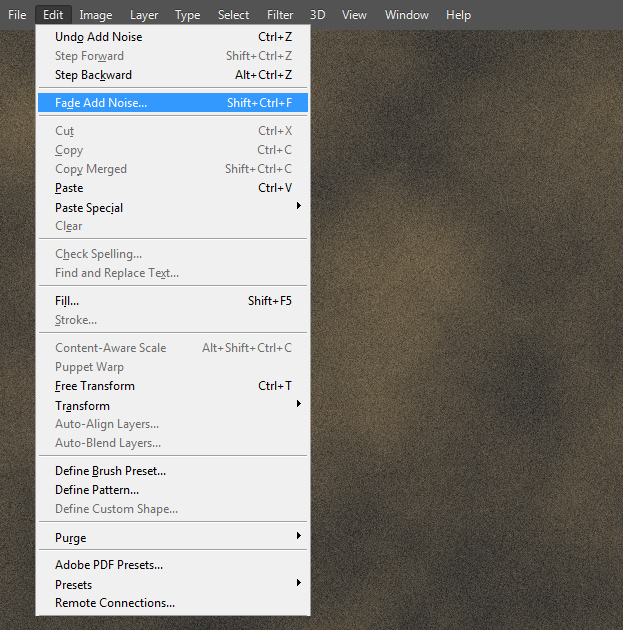
04. Still being at your new channel layer, go to Edit > Fade Add Noise and lower it to 50%. Press ok.
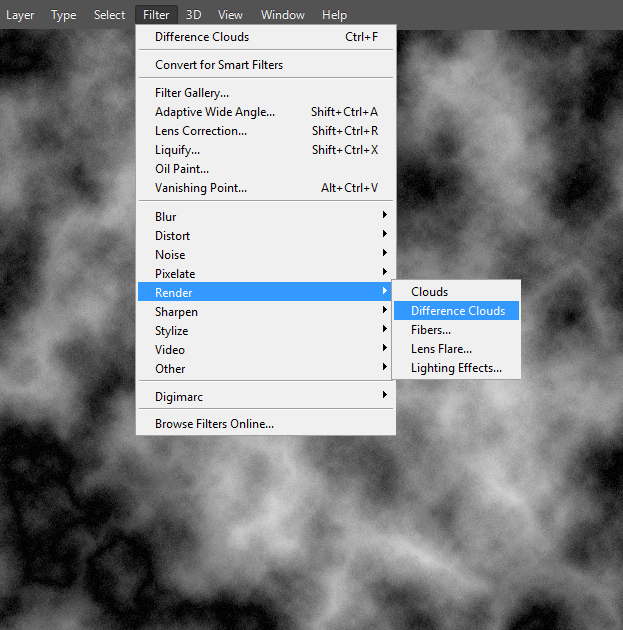
05. Now go to Filter > Render > Difference Clouds.
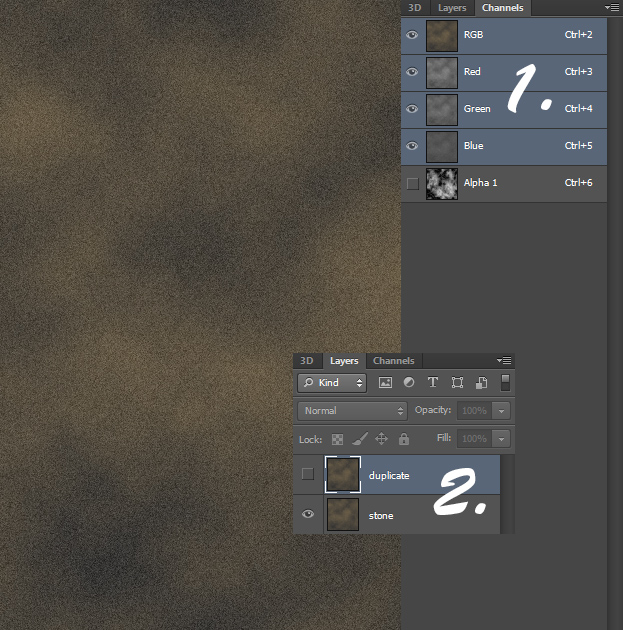
06. Now activate your RGB channels, and hide the alpha layer and move back to your layers panel. There duplicate the layer by right clicking on the layer and choosing Duplicate layer.
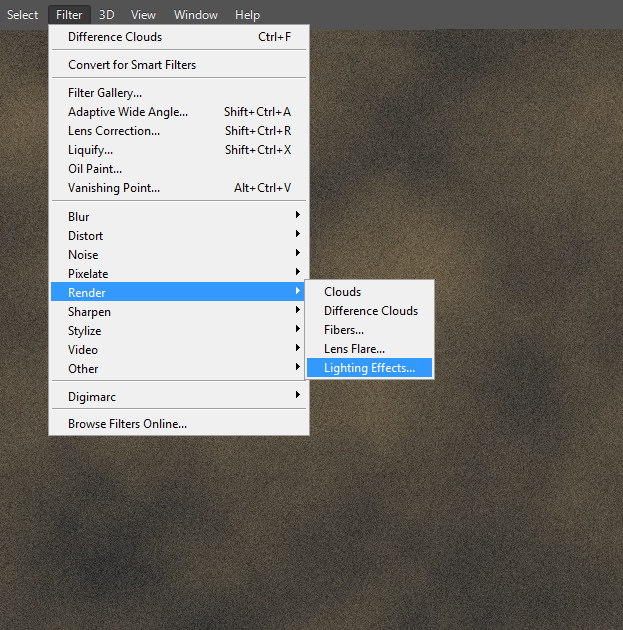
07. Now move on to Filter > Render > Ligting Effects.
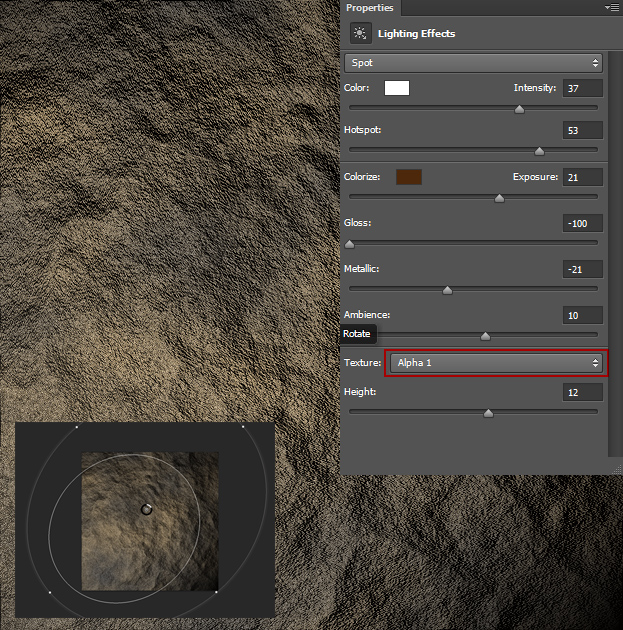
08. First thing to do is to change your texture to alpha! Only then you will see the good stone texture. Then set the lighting angle and size. Finally, and all there is to do is play around with the values to get the stone texture you wish to have. Raise the Height value, Lower Metallic or Gloss and play around with Ambience. If you are done, just press Ok and the settings will be added.
09. And now you know how to create a stone texture from scratch inside Photoshop.
