How to Create a Realistic Pressed Leather Effect in Photoshop
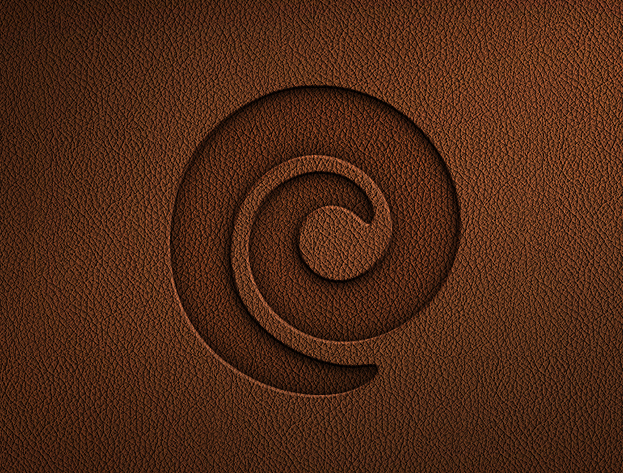
This tutorial will show you step by step how to create a pressed leather effect in Photoshop that you can use to display your logo, text or any other artwork.
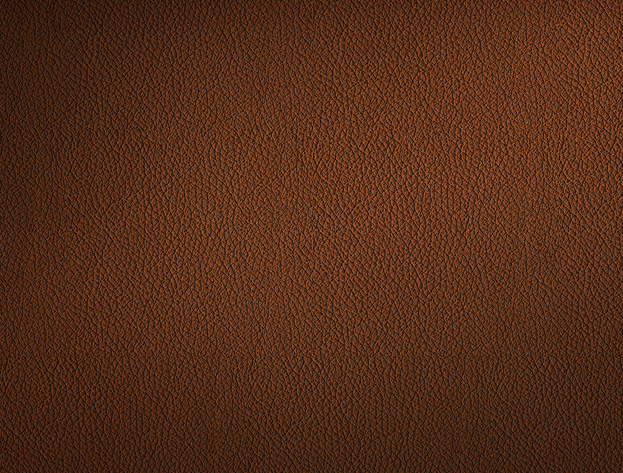
01. Open a picture of a leather texture. It can be any color.
02. Now open a picture, logo or just a text and place it on your leather texture. It would be good if the picture you are using wouldn’t have much details on it because the effect is one colored and only the shape will remain.
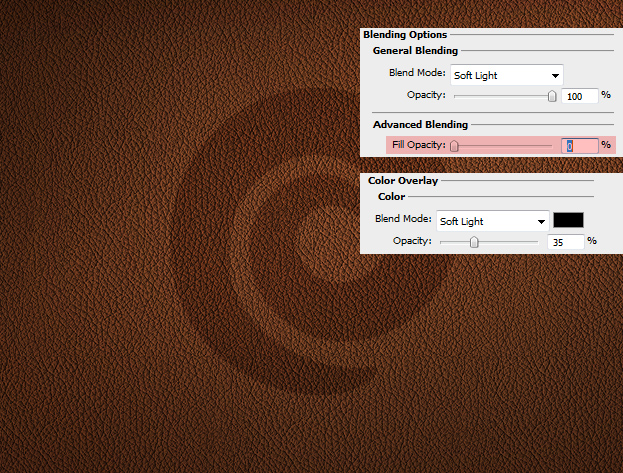
03. Now, in the menu go to Layer – Layer Style – Blending options and lower the Fill Opacity to 0%. Then, in the same window, select another tab – Color Overlay. There set the color to black, Blend mode to Soft light and lower the opacity. Don’t press Ok yet.
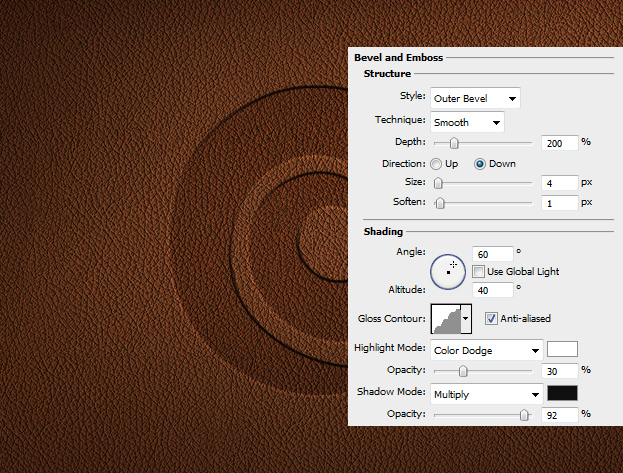
04. Continue to the Bevel and Emboss tab and set the values as shown below.
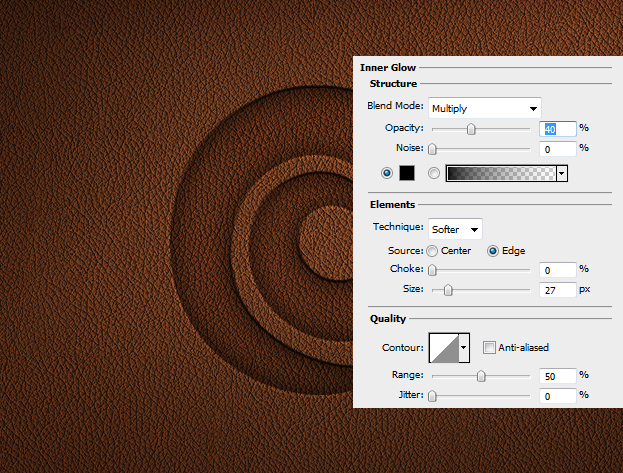
05. Move on to Inner Glow and set a black inner glow on your image, so it would have more pressed feeling.
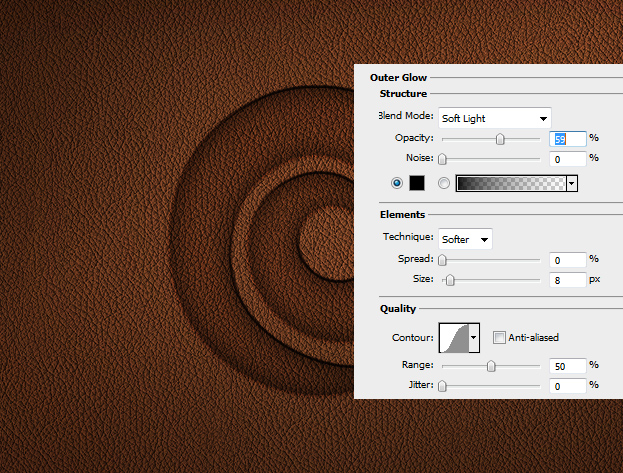
06. Now go to outer glow tab and again, set a black glow.
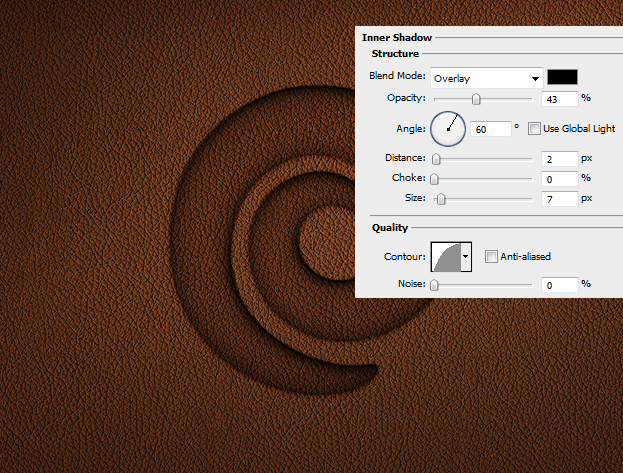
07. Again, switch the tab, this time to Inner Shadow and add a small dark shadow.
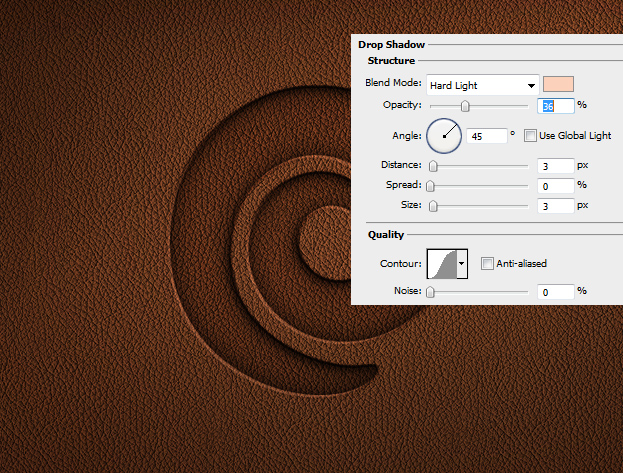
08. And for the last, go to Drop Shadow tab and add a lighter color shadow. Set the lighter color according to your leather color. For example, if your leather is red, then the shadow should be light pink. Now press OK and you are done.
And your leather pressed picture is ready!
