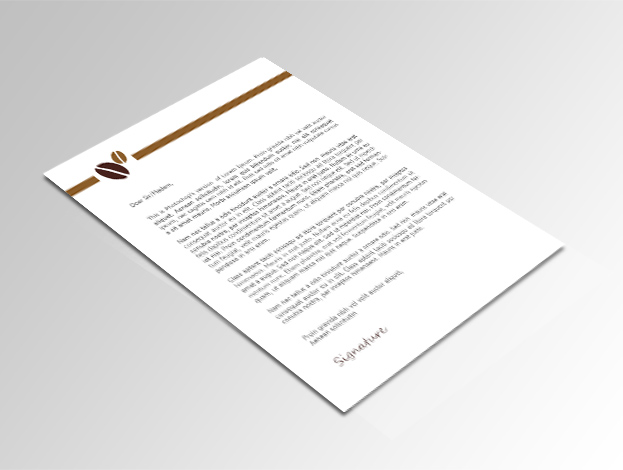
How to Create a Photorealistic Documentation Presentation in Photoshop
If you are a designer then sometimes you would need to make documentation designs. But a sheet of paper does not always look the most presentable. This tutorial will show you how to create a nice photo-realistic documentation presentation in Photoshop.
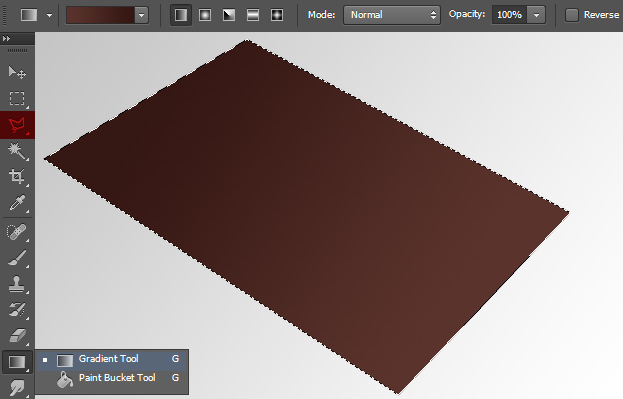
01. Firstly, create a new layer (Layer – New – Layer), then select the Polygonal Lasso tool and create a shape like a paper that is on the table. Then pick the Gradient Tool, set the gradient according to your document color and then fill the area by dragging in the selection.
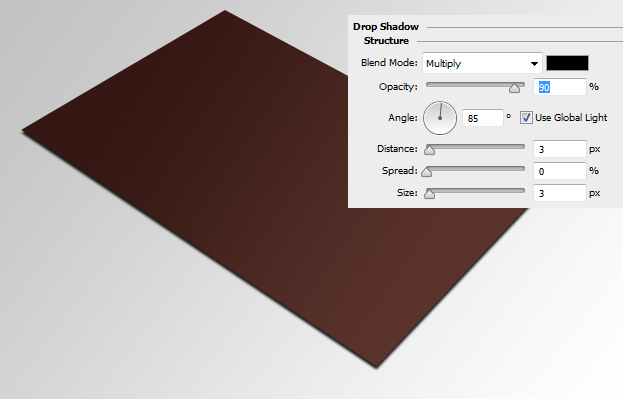
02. Now double click on your new shape layer, a new window will open. There go to Drop Shadow and add a small shadow under your document. Press OK.
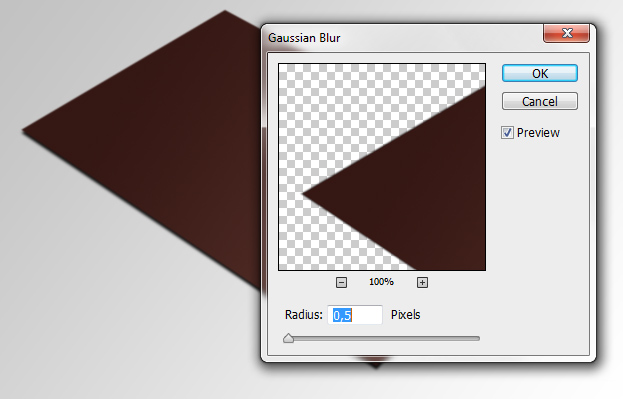
03. Then go to Filter – Blur – Gaussian Blur and add a very small amount of blur on the document. Press OK.
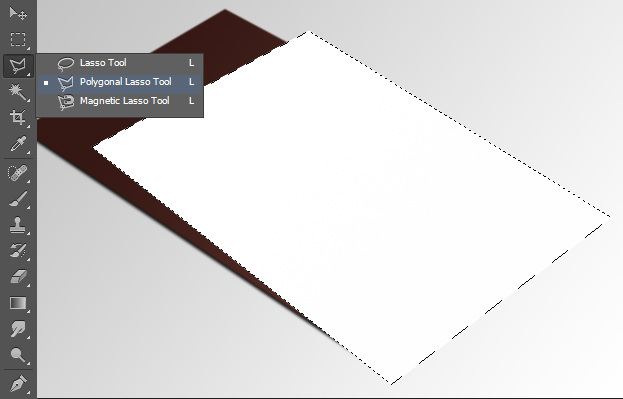
04. Create a new layer again (Layer – New – Layer), pick the Polygonal Lasso tool and create another shape which would be your main document. Fill the selection with white color.
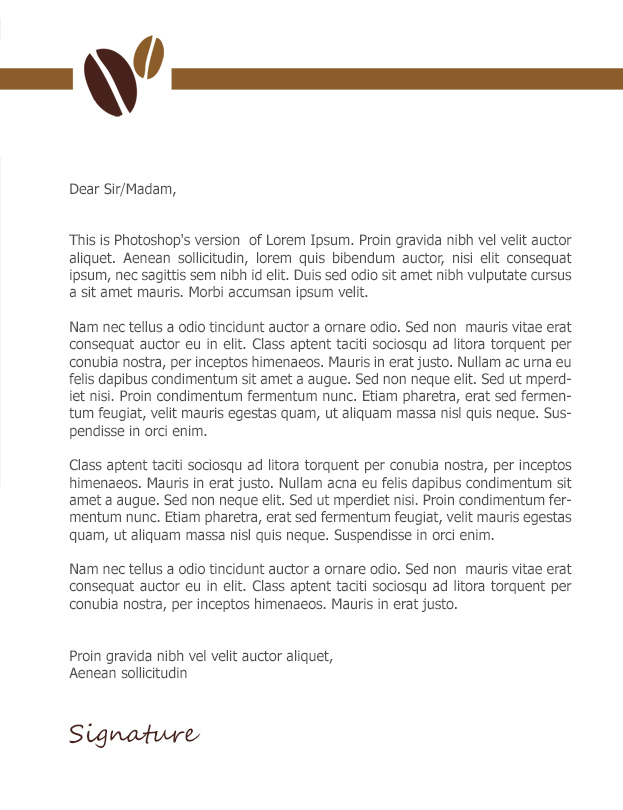
05. Now you can create or open your document design that has a company logo above the text, then text and a signature place.
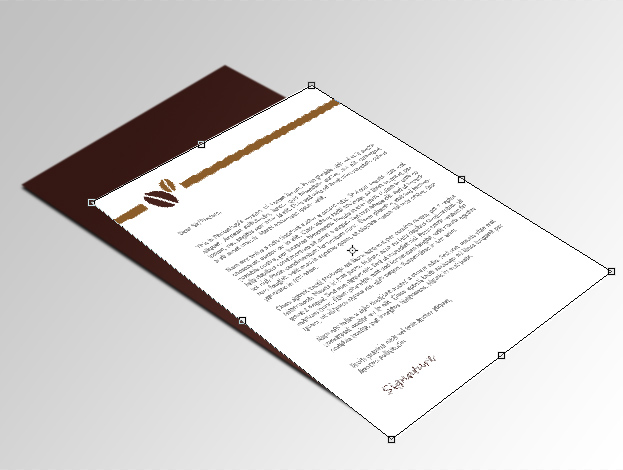
06. Now go to Edit – Transform – Distort and drag each corner of the document on the white sheet you created before so that the document would be perfectly on the sheet. Press Enter when done.
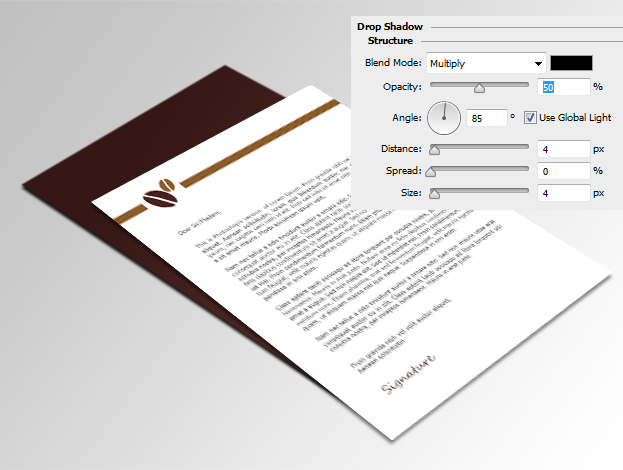
07. Double click on the document layer, and go to Drop Shadow and add a shadow under the document. Press OK.
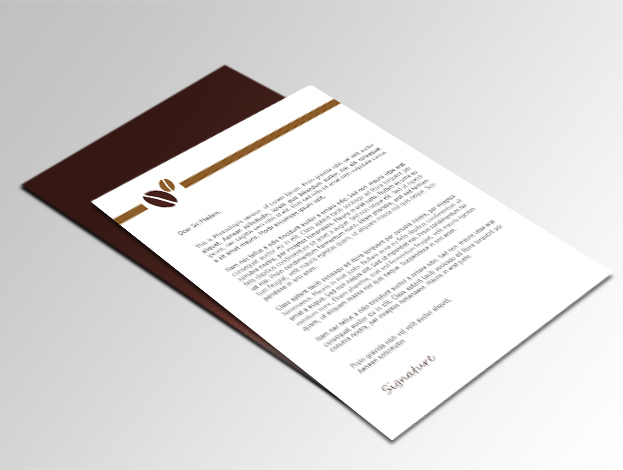
08. And now you have a very photo-realistic document presentation that you can use with the background paper or without.
