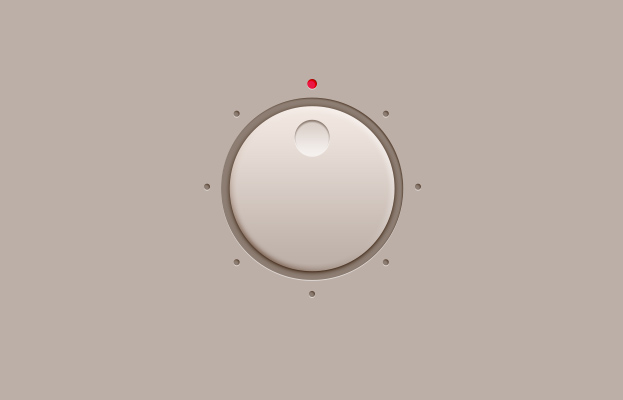
How to Create a Modern Clean Volume Adjustment Wheel in Photoshop
This tutorial will show how to create a modern volume adjustment wheel in Photoshop that you can use either in some movie/music player, on mobile music app or anywhere else, where the volume needs to be increased or lowered.
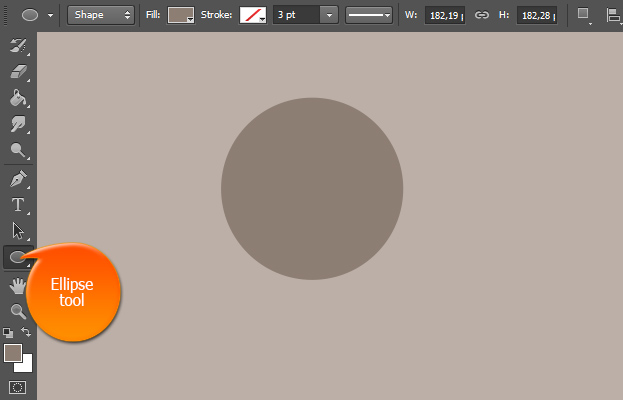
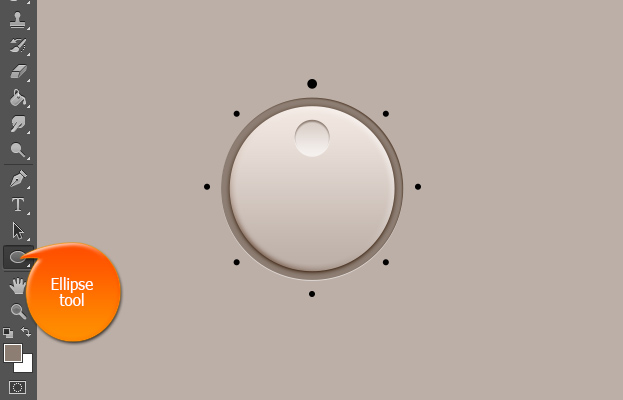
01. Open a new document and fill it with the color which shades you will use on the button design. Now take the Ellipse tool and create a circle that is the same color that your background is, but at least half the darker.
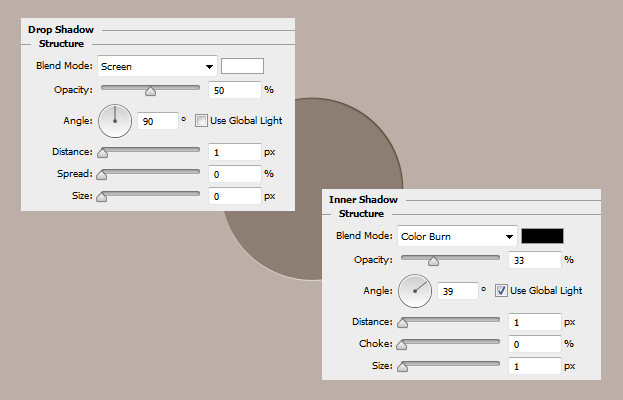
02. Now lets add some Layer Styles to that circle. Go to Layer > Layer Styles > Drop Shadow and add a very small white shadow under the circle. Then move to the Inner Shadow tab and add a small dark shadow. Press Ok.
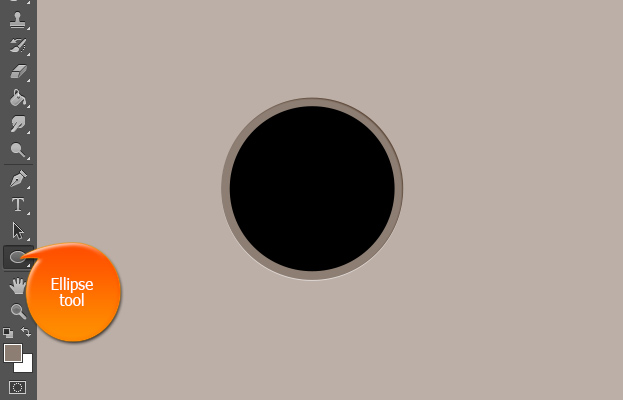
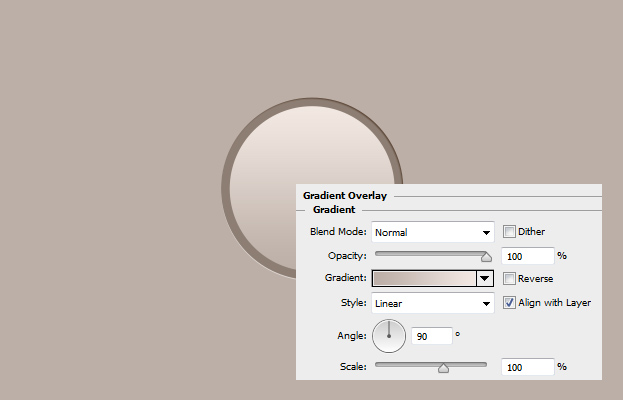
03. Select the Ellipse tool again and create another circle on top of your first circle but a bit smaller so that the edges of the first would show.
04. Add some gradient on the circle at the Layer > Layer Style > Gradient Overlay and add a gradient lighter shades of the background color. Don’t press Ok yet.
05. Move to the Bevel and Emboss tab and add some values shown below to add some roundness to the circle. Then select the Contour checkbox that is right under the Bevel and Emboss.

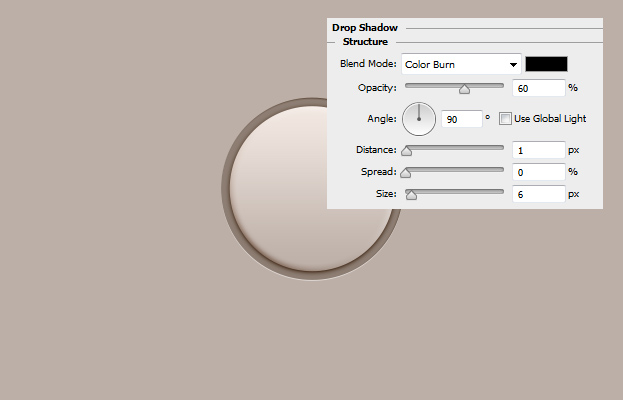
06. And for the last, move to the Drop Shadow tab and add some shadow under the circle. Press Ok.
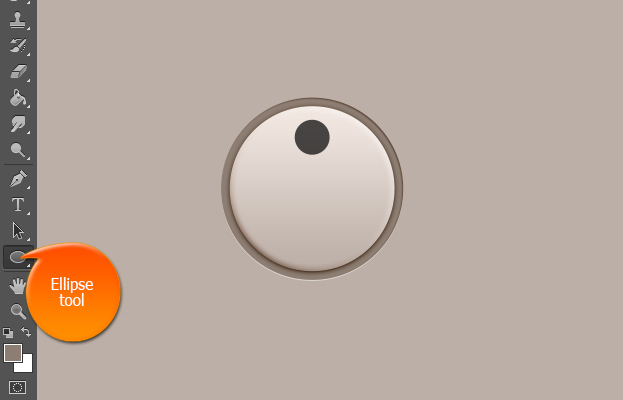
07. Again, take the Ellipse tool and create a small circle to act as a pointer.
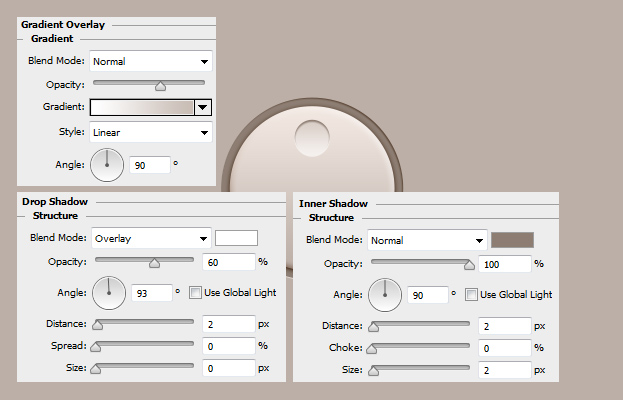
08. Add the pointer some Gradient, very small light shadow and a darker inner shadow from the Layer Styles window.
09. Select the Ellipse tool for the last time and create small circles all around the circle and a bit bigger circle where the pointer is pointed.
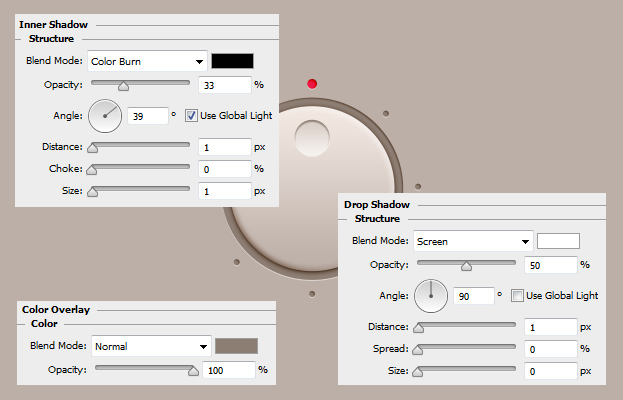
10. Now give each of the dots some layer styles – color, inner shadow and drop shadow.
11. And the volume adjuster is ready to be used!