How to Color an Old Black and White Photograph in Photoshop
You have some old black and white photographs that you’d wish to see in color? This tutorial will show you in simple steps how to color an old photograph.
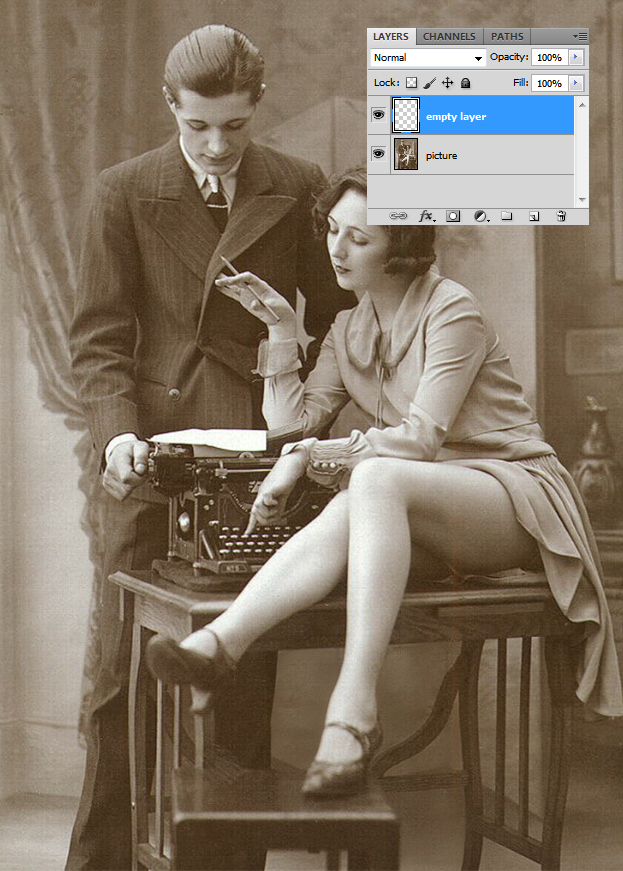
01. First open the picture you’d wish to transform from black and white to colored photograph.
02. Now create an empty layer by pressing the create a new layer button that is next to the trash bit icon below the layers palette window.
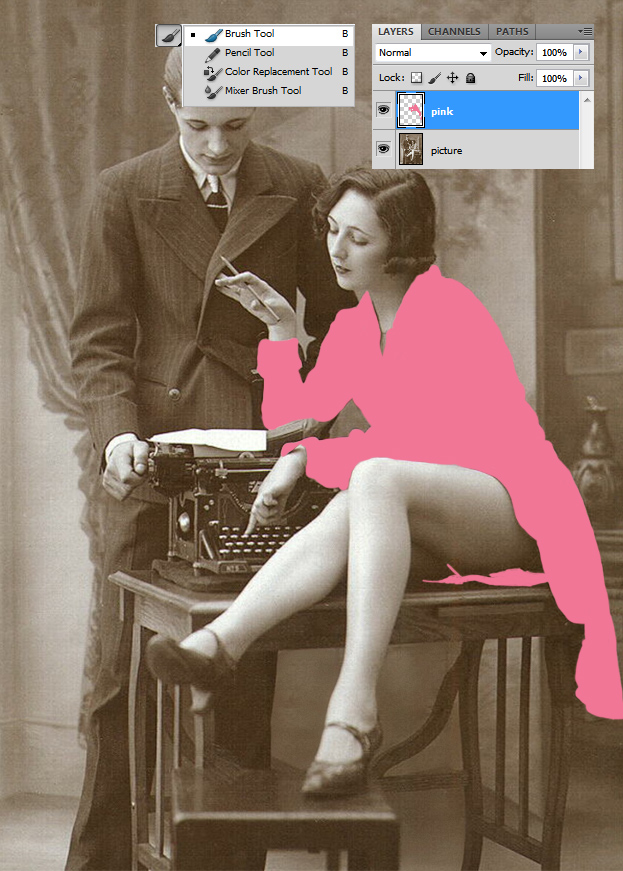
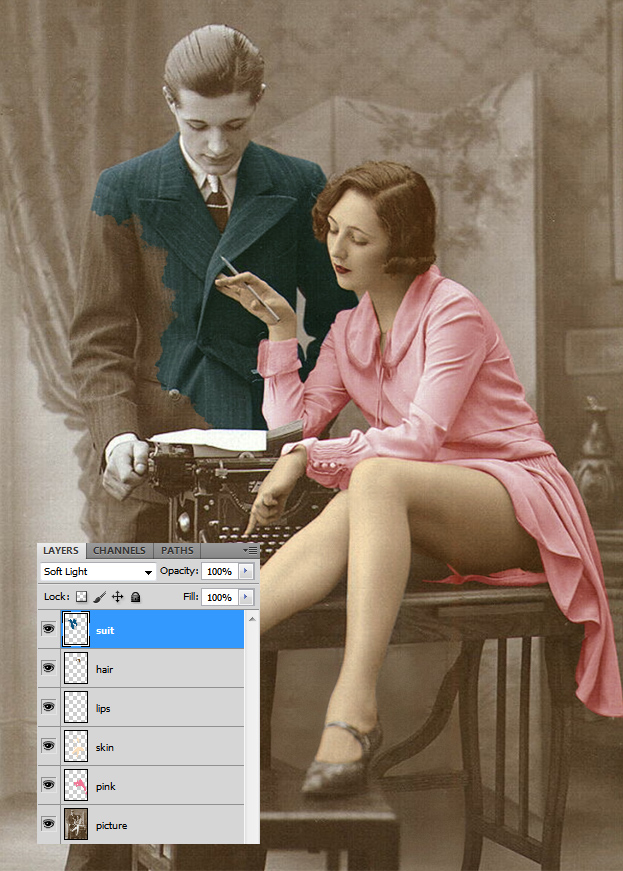
03. Now take the Brush tool, pick a color and color one object on the picture. What color to pick? It is not hard to guess what kind of color you should pick to one or another part, for example, the dress obviously was not black but some lighter color and the suit the man is wearing is a darker color but not pitch black. With the brush tool, just go over just one part on the picture – a dress, skin, hair, or any other object. Also try out different brush sizes to color over tighter places.
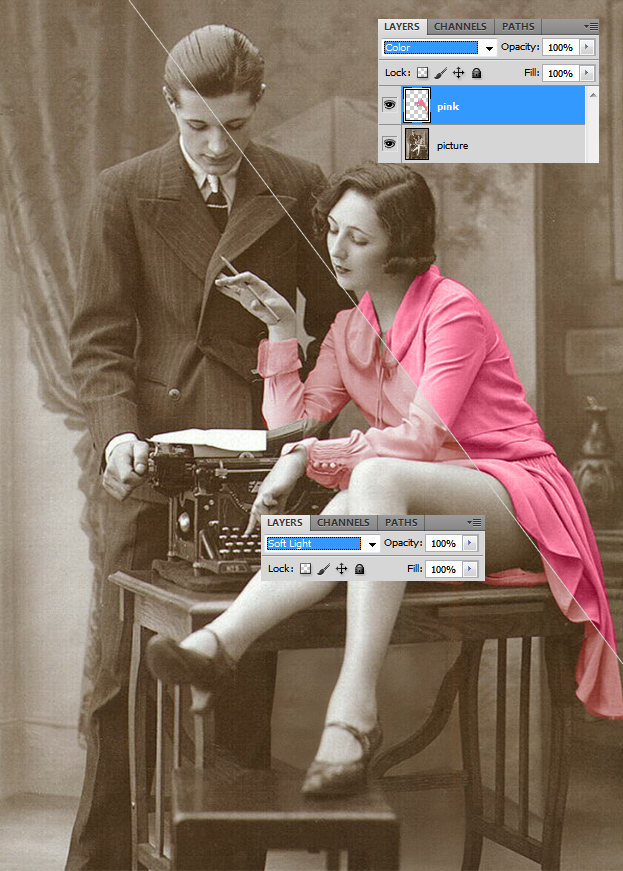
04. Then set that layer that you just painted to various of blend modes. Depending on the blend mode, you’ll get a different intensity color. Below are brought two examples – one is put with the blend mode Color and the other side with the Soft Light. Whatever suits the best on your picture, go for that one. Also not any blend mode fits to all pieces, so on different parts the blend modes will vary.
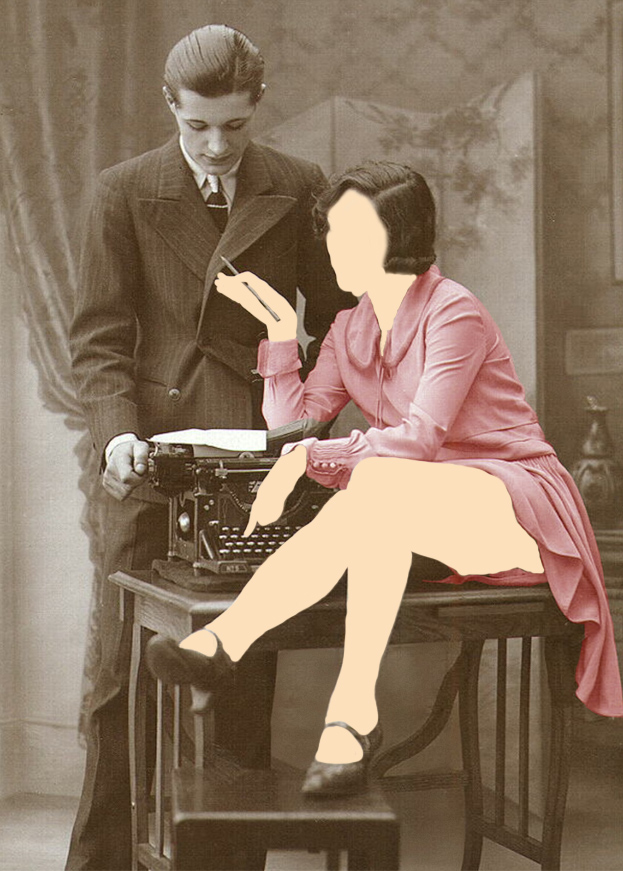
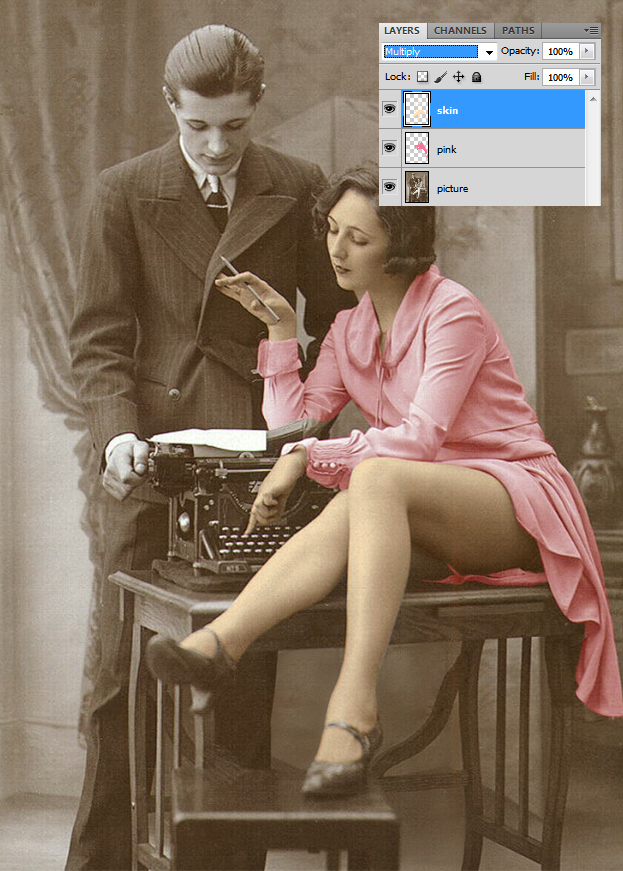
05. Now lets color the skin. The color you should pick is creamy that you can find in the brown-orange section of colors. Do not forget to create a new layer! Every part has to be put on a different layer.
06. For skin, I find it best to set the blend mode to Multiply. As you van see, the dress and the skin lay on different layers.
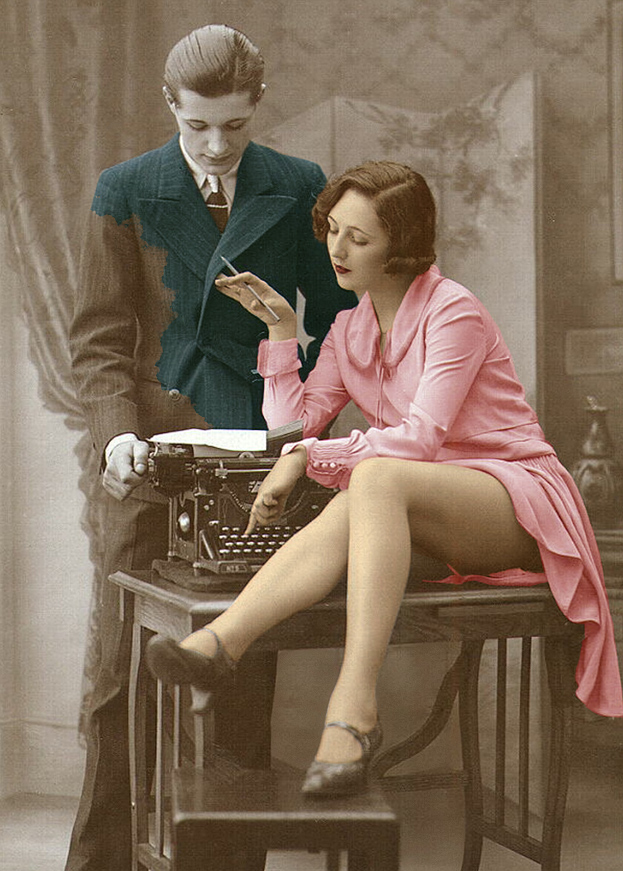
07. You can also make a new layer and then paint another color on it. Like lips where first we fill the skin and then draw lips on top of it. But don’t forget the rule – a new layer every time.
08. Like that you can color the whole picture, or just parts of it and that is all to it! Simple, isn’t it?!

