Gel Text Style Photoshop Tutorial
In this tutorial we will see how to create a cool gel looking text that can be added to any text or shape.
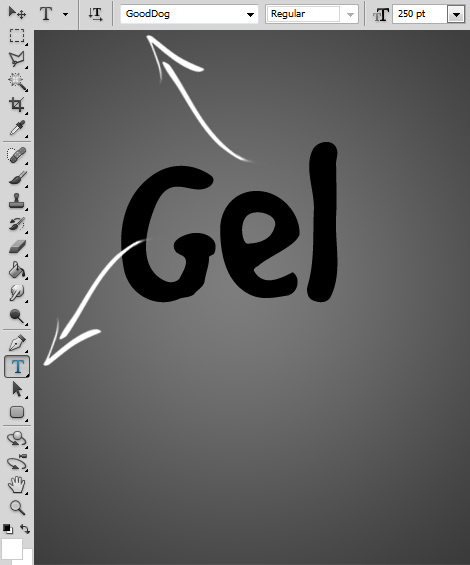
01. Create a new document and fill it with darker color. It can also be lighter color but then you’d need to change the shade and other colors used in this tutorial since the setting in this tutorial fit best for darker and dimmer tones. Select the Type tool, choose a font and type your word.
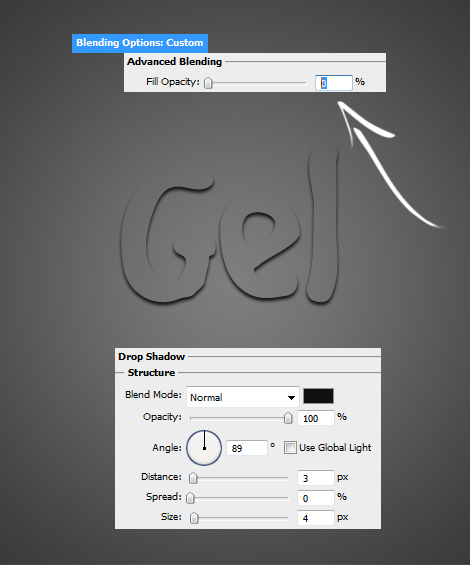
02. Now go to Layer > Layer Styles > Blending options. Here only set the Fill Opacity under the Advanced Blending to 0% so that the fill of the text would disappear. Gels are transparent! Move on to the Drop Shadow and set a small shadow under the text.
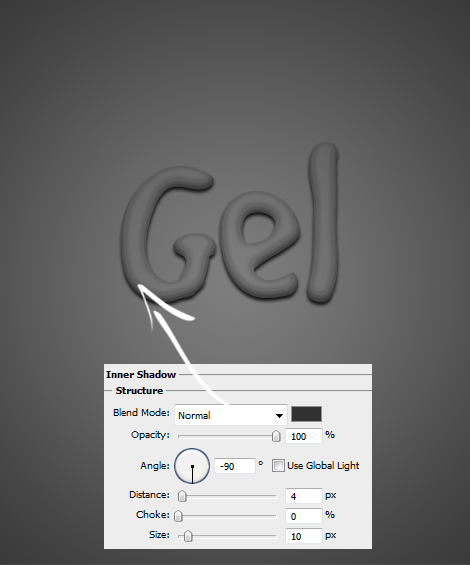
03. Go to Inner Shadow and add some shadow there. Starting to look better!
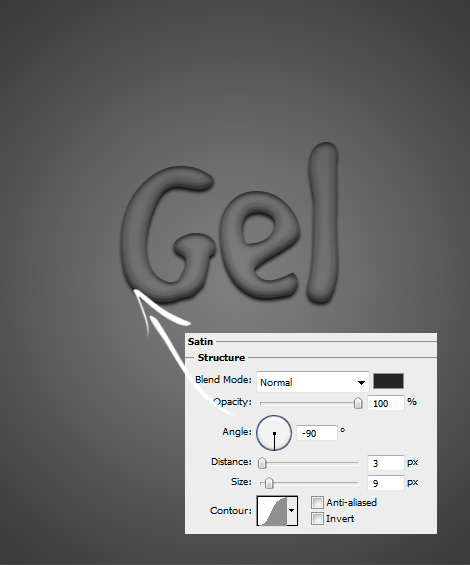
04. Add some Satin values for more contrast.
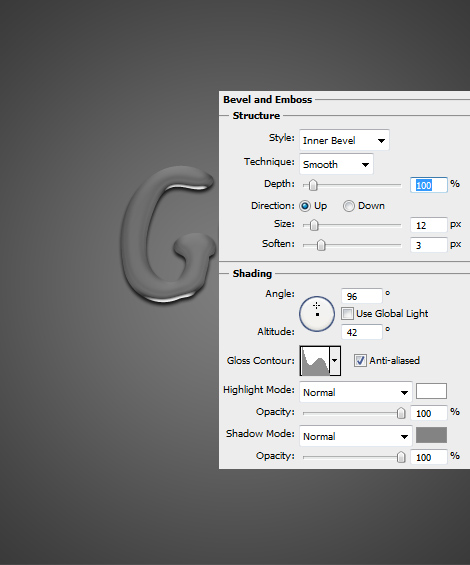
05. Go to Bevel and Emboss and set some more values.
06. Under Bevel and Emboss, check the Contour box. Also click on it to make sure the setting is as shown below. Press OK!

07. And voila! The gel looks like a gel should be!