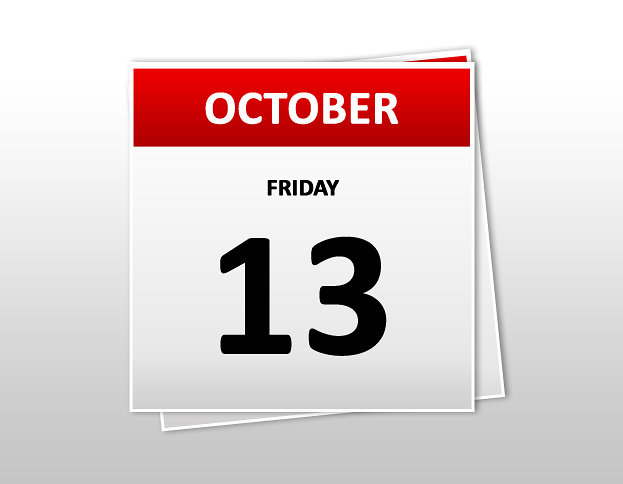
Create Simple Agenda Sheets From Scratch in Photoshop
This tutorial will show you how to easily create simple agenda sheets from scratch in Photoshop.
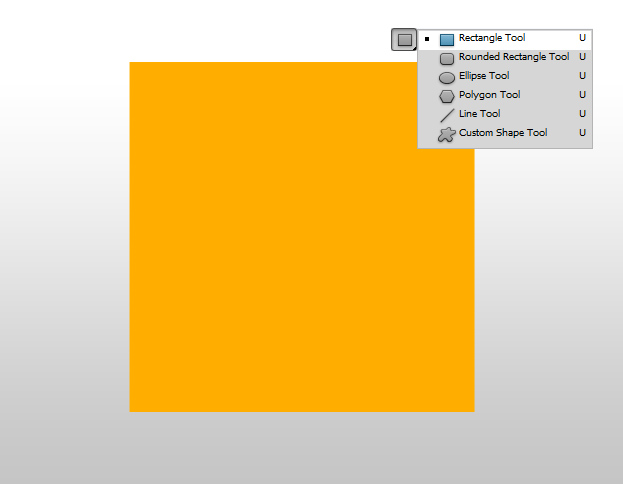
01. First take the Rectangle Tool and create a square of any color.
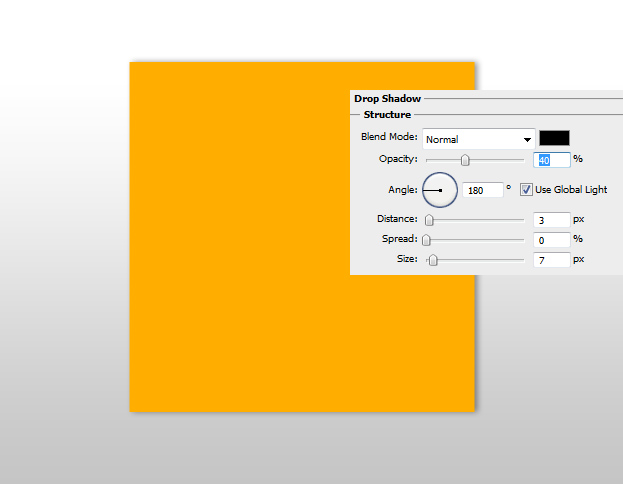
02. Then go in the menu to Layer – Layer Style – Drop Shadow and add a small shadow next to your shape. Don’t press Ok yet.
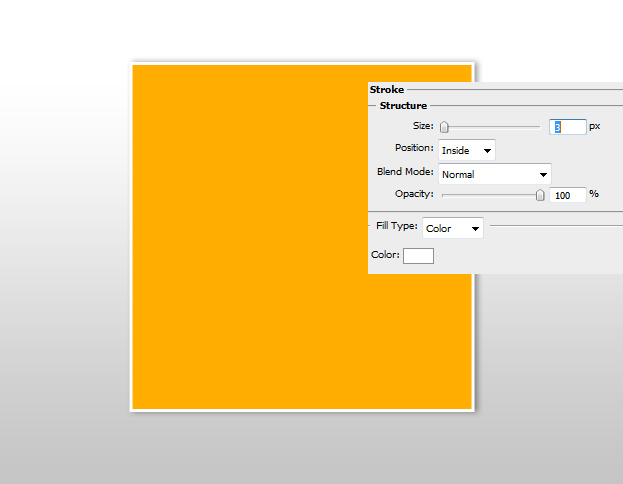
03. From that same window move to Stroke tab, just click on it, there choose a color white, position inside and size 3. Again, don’t press Ok.
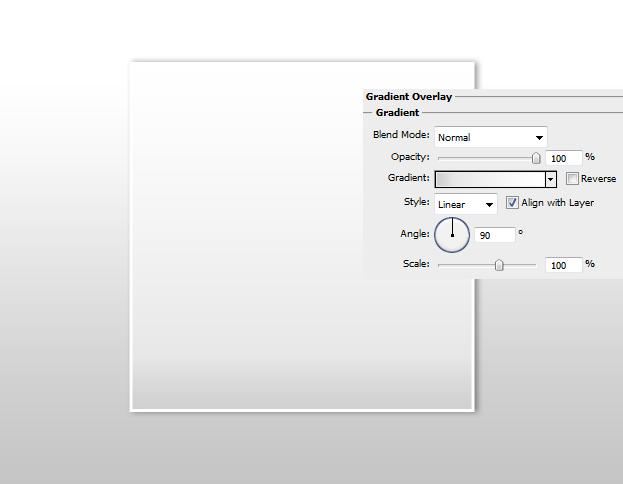
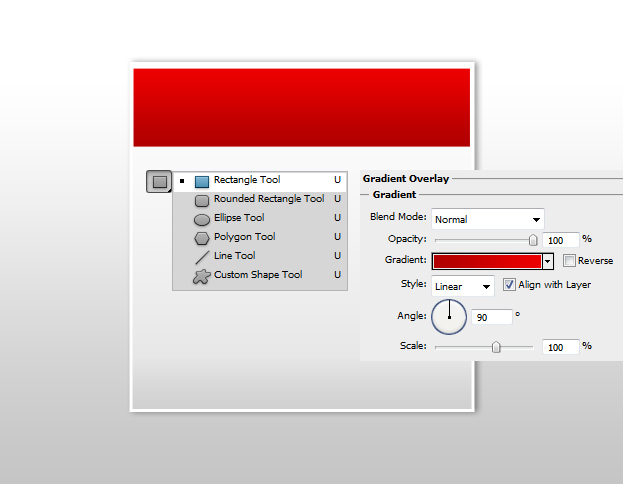
04. From the same window, now move to Gradient Overlay tab, set the angle to 90 and gradient from light grey to white. Now press OK.
05. Take the Rectangle Tool again and create another shape on top of your first one. This time make it smaller but almost as wide as your previous one. If the shape is done, then go in the menu to Layer – Layer Style – Gradient Overlay and set the color from darker red to lighter one. You can also use some other color. Press OK.
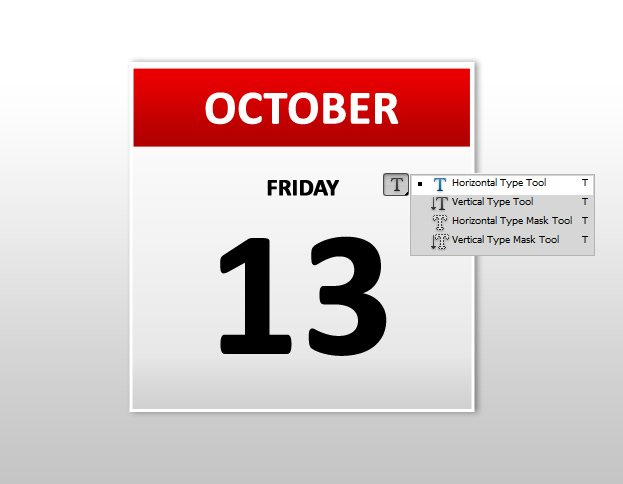
06. Now take the Horizontal Type tool and type in your agenda texts which usually are the month, day and date. Use different font sizes and colors.
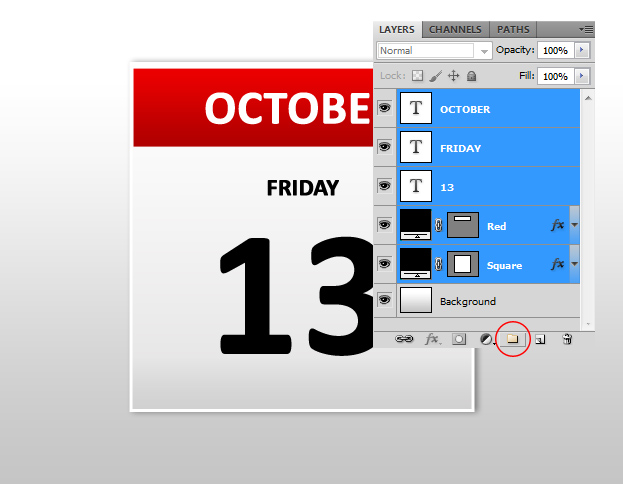
07. Now go to your layers palette (Window – Layers), hold down the Ctrl key (Command key on Mac) and select all the layers except the background. Now click on the small folder icon that is under the layers palette window. It automatically groups all the selected layers.
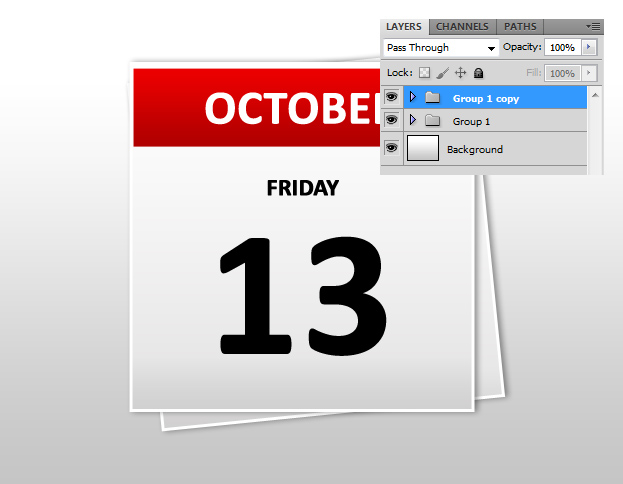
08. Now right click on your new group and select Duplicate Group. Now you have 2 groups. Select the lower group and go to Edit – Transform – Scale and turn it a bit. Now it looks like underneath there is another sheet.
09. And your agenda is ready to display! You can use it, for example, as a part of your web design to show the date or in any other application.
