Create a Modern and Stylish Company Document Layout in Photoshop
This tutorial will show you how to create a modern company document layout in Photoshop.
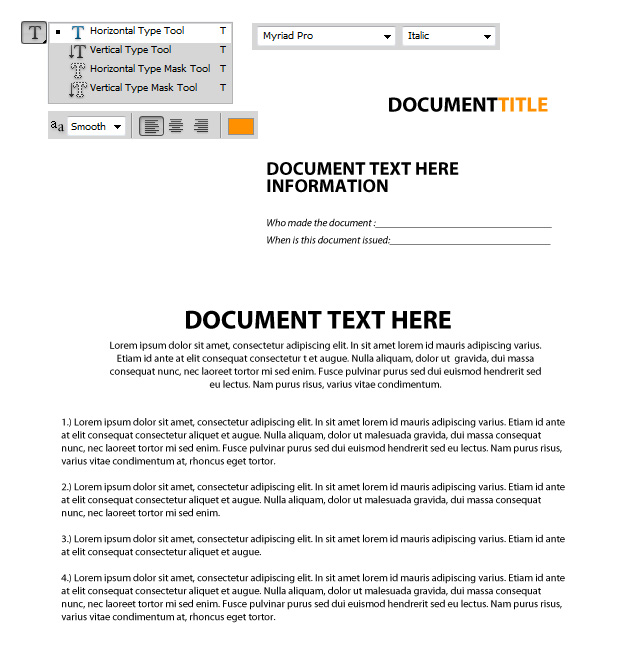
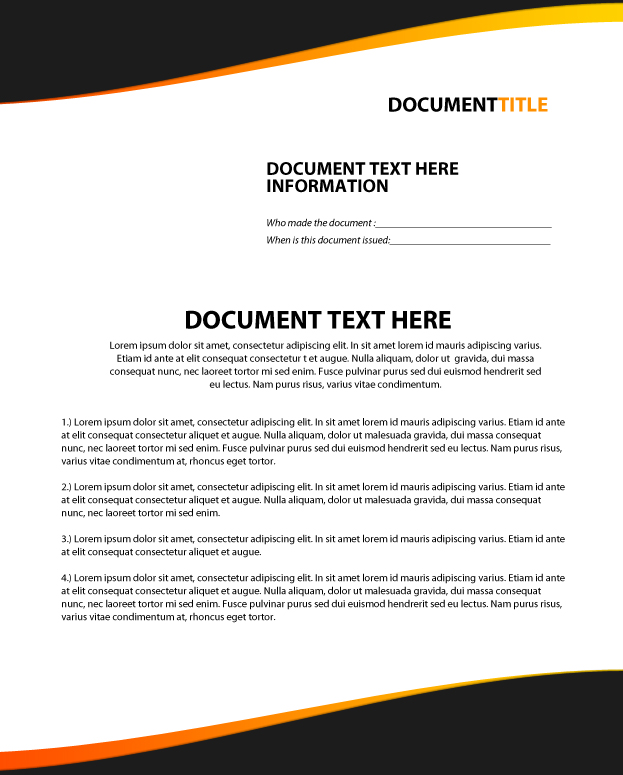
01. Take the Type tool and add the text. Fill the upper part with your document title, below it information about the document and then carry on with the document text.
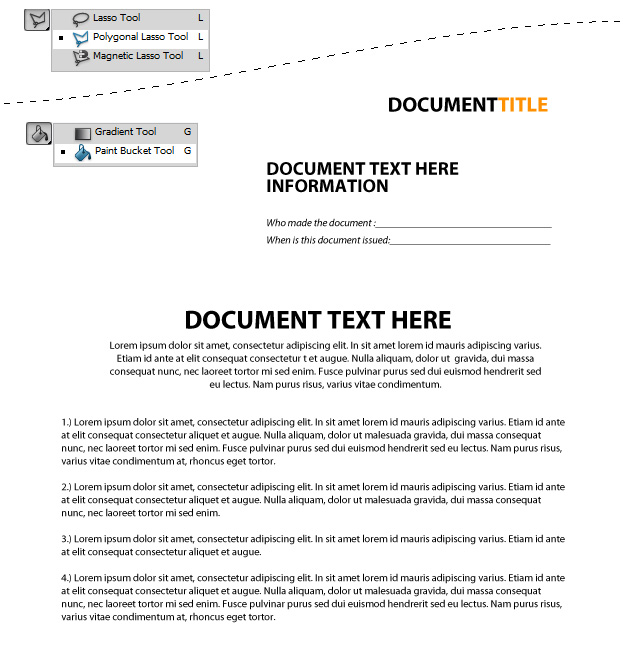
02. Create a new layer (Layer – New – Layer), take the Polygonal Lasso tool or Pen tool and draw a curved line on the upper part of your document. Make the selection edges go over the document area. Then take the Paint Bucket tool and color the selected area.
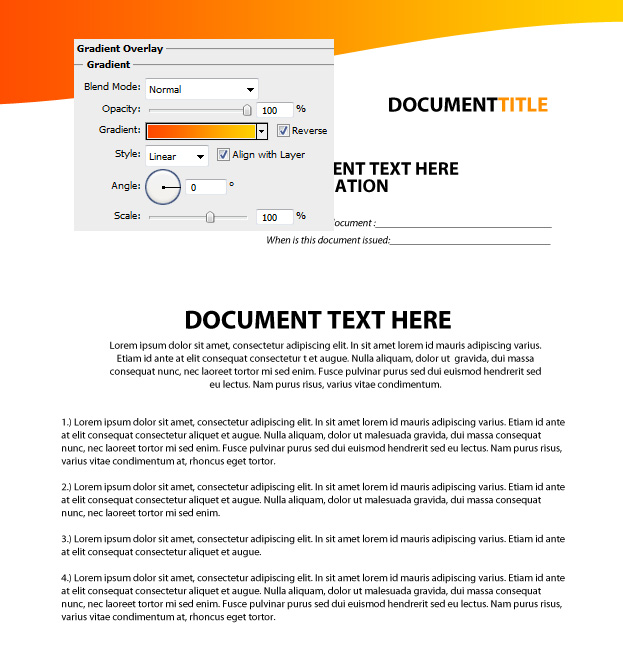
03. Double click on your shape’s layer in the layers window to enter the layer styles window. There go to Gradient Overlay and set the gradient from one color to another. Press OK.
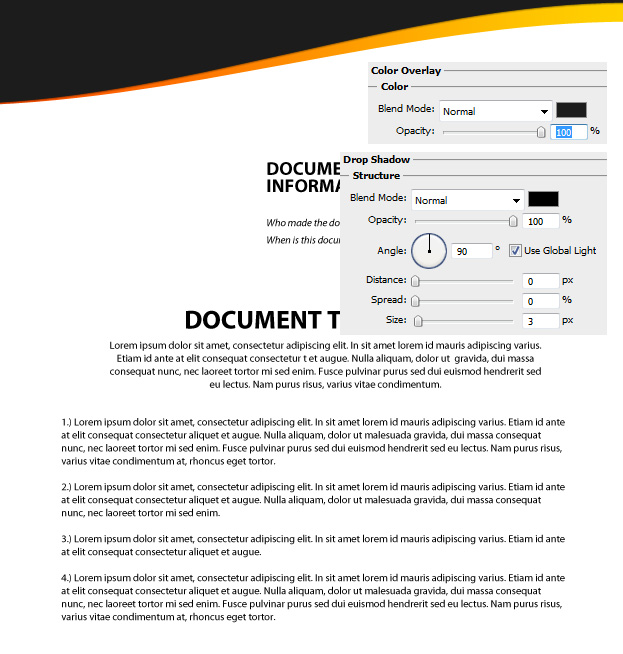
04. Duplicate the layer by right clicking on the orange layer and choosing Duplicate Layer. Double click on your duplicate and go to Color overlay. Set the color to dark grey. Then go to Drop Shadow and add a small shadow under the shape. Move the shape a bit upwards so that the orange will show a bit.
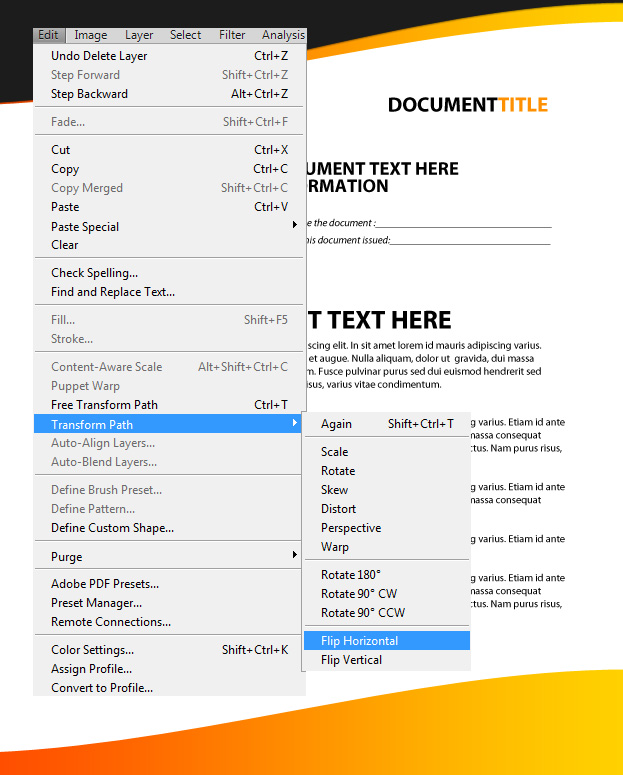
05. Duplicate the orange layer and go to Edit – Transform – Flip Horizontal. Then go again to Edit – Transform and this time choose Flip Vertical. Move the orange at the bottom of your document.
Repeat the steps with the grey shape and move it also downwards. And your stylish document is ready for signing.
