How to Use Blend Modes in Photoshop
Blend Modes are one of the most powerful features in Photoshop that allow as to blend different images together through different blending options. This tutorial shows you how to use the blend modes.
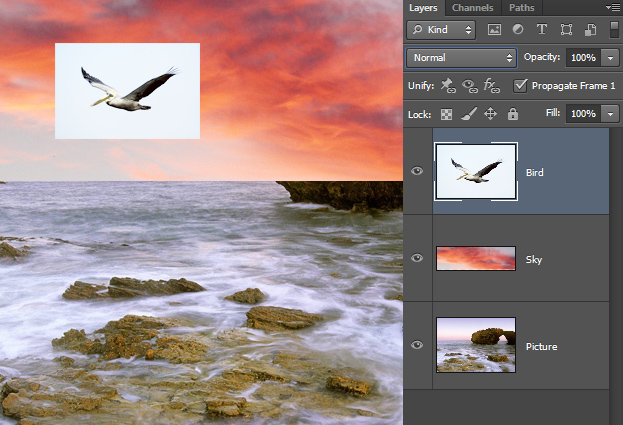
01. Lets say you have three images – a bird, nice cloudy sky and a beach. Now you would want to get all of these into one picture – a beach with nice clouds and a bird flying in the sky. If you wouldn’t know anything about blend modes, you’d go ahead and start cutting your pictures – cut out the bird, then cut out parts of the sky that overlay with the objects on the picture. That all takes much time and the results may not come as natural.
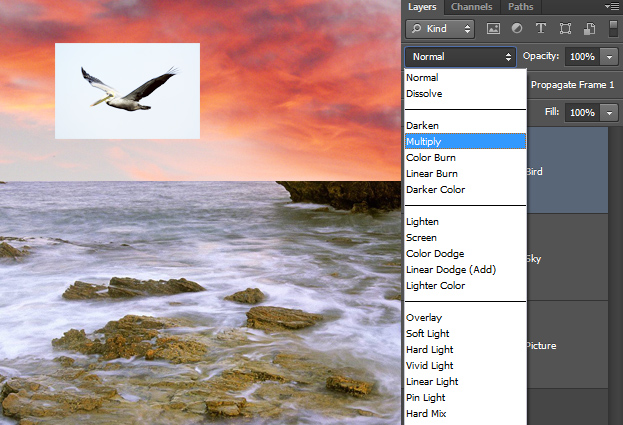
02. So, where can you find the blend modes? They are located at the upper part on the layer panel as a drop-down menu. If you open that drop-down, you’ll see how many of those blend modes there actually are.
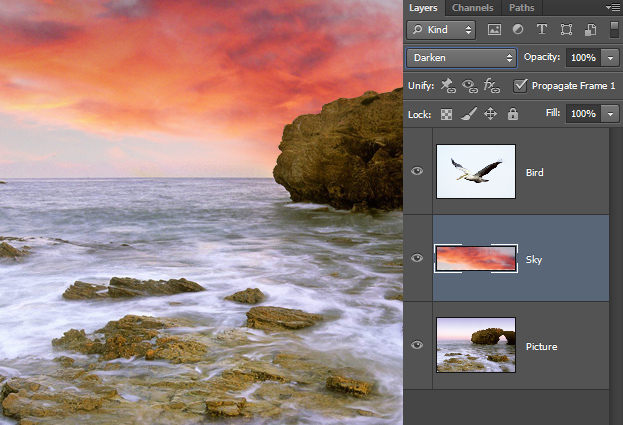
03. Now select the sky layer, and choose the blend mode Darken. And voila! The sky falls into its place, the objects from the background pass nicely and naturally through and the sky fits perfectly. This all with just couple of clicks, no cutting!
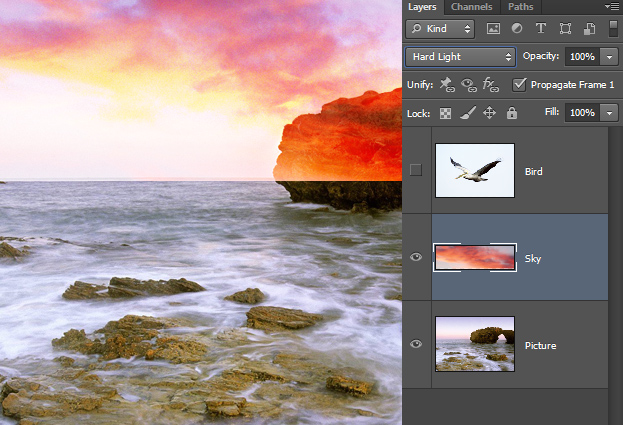
04. But why did we choose Darken not any other blend mode from that list? Because not all blend modes fit with every picture. If we put the blend mode to Hard Light, for example, then it does blend the two pictures but not the way its necessary. That is why it is important always to go through several blend modes before sticking to one – to learn how each one of them blends or to find even better blending for your particular picture.
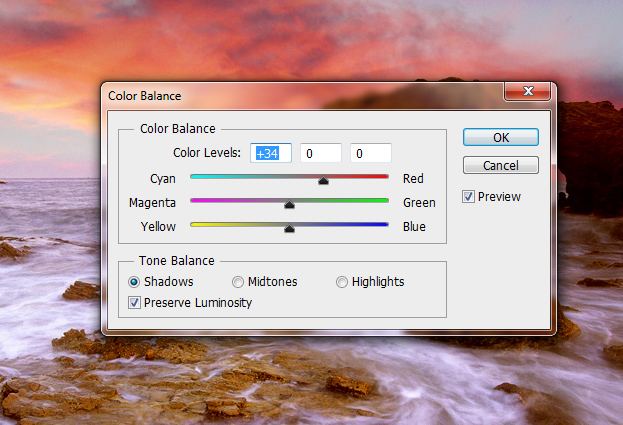
05. But even using blend modes require you to change some color adjustments at times. We made the sky all red but the beach is still with blueish colors. To make the background and the blended image to mach, select your background image, go to Image – Adjustments – Color Balance and raise the bar of the color the background needs, in our case, more red and press Ok.
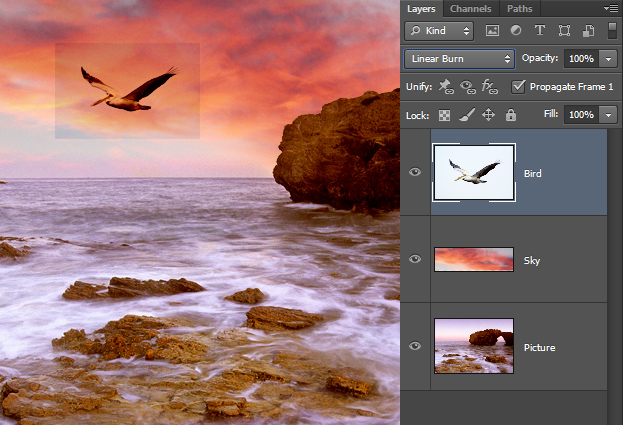
06. Now we need to blend our bird into the background but unfortunately soon you will realize that not all pictures have their perfect blend mode and need some extra help. The same is with the bird, the closest we got to blend it was, using the Linear Burn, with a bit of transparent background.
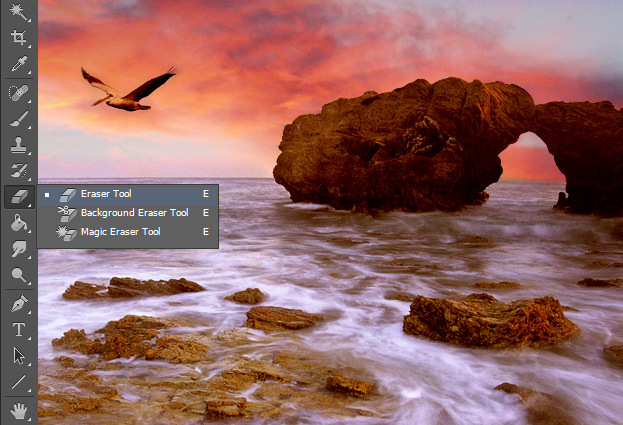
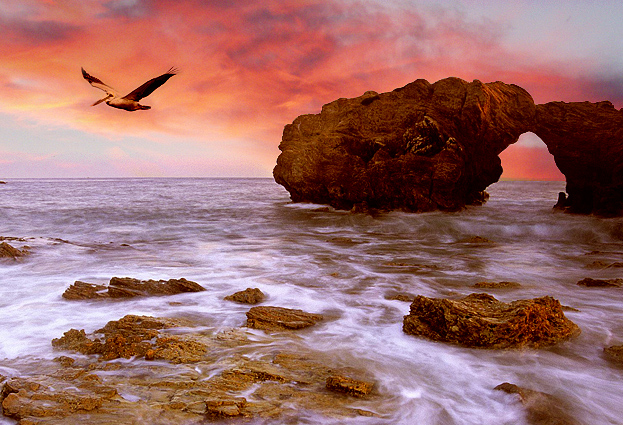
07. To fix that, just take the eraser tool and softly brush away the edges and it will fit perfectly!
08. And now you know hot to use blend modes to blend different pictures into one in Photoshop.
